How To Guide: Bath Soap Making
Introduction:
I believe that there's something special about using handmade soap in your daily bathing routine. Not only can you customize it to your preferred fragrance and ingredients, but it also gives you the satisfaction of creating a personal product. In this step-by-step guide, I will walk you through the process of making bath soap right at home. Let's get started!
Supplies:
Before we begin, gather the following supplies:
- Soap base (available in craft stores and online)
- Essential oils or fragrance oils of your choice
- Colorants (natural or cosmetic-grade soap dyes)
- Silicone soap molds
- Mixing bowls
- Heat-resistant glass measuring cup
- Stirring utensils (preferably silicone or stainless steel)
- Rubbing alcohol in a spray bottle (to eliminate bubbles)
- Knife or soap cutter
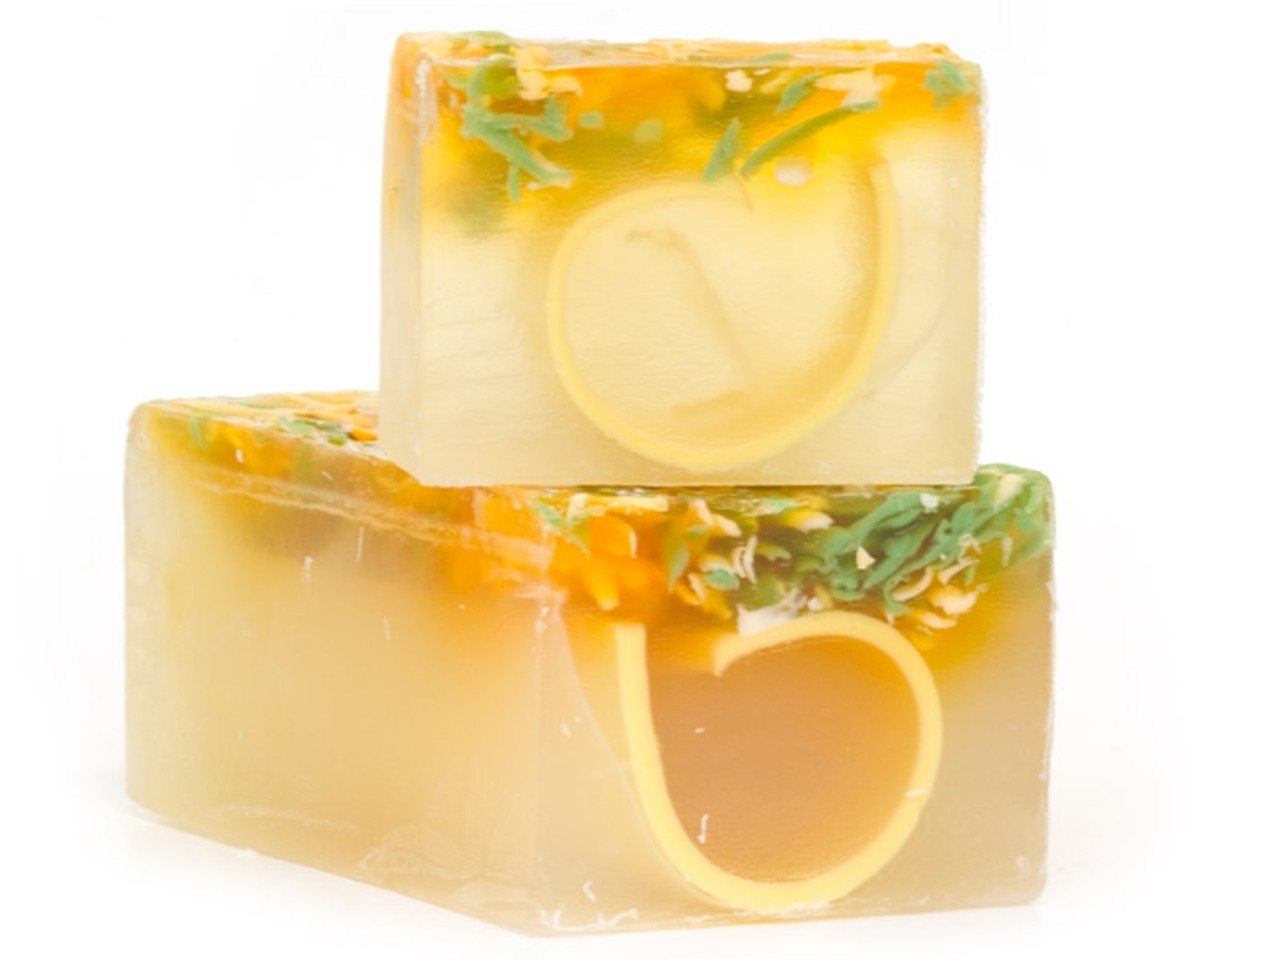
- Optional: botanicals, exfoliants, or additives such as oatmeal or dried flowers
Step 1: Preparing Your Workspace
Ensure you have a clean, clutter-free workspace. Cover it with a plastic sheet or newspaper for easy cleanup. Gather all your supplies within reach, allowing for easy access during the soap making process.
Step 2: Melting the Soap Base
Cut the soap base into small cubes or chunks using a knife or soap cutter. Place the desired amount of soap base into a heat-resistant glass measuring cup. Microwave the soap base in 30-second intervals, stirring after each interval until fully melted. Alternatively, you can melt the soap base using a double boiler or a slow cooker.
Step 3: Adding Fragrance and Color
Once the soap base is melted, let it cool for a minute or two. Add a few drops of your chosen essential oils or fragrance oils to the melted soap base and stir gently until well combined. If desired, add a pinch of colorant to achieve your desired hue. Mix well, ensuring the color is evenly distributed throughout the soap mixture.
Step 4: Adding Botanicals or Additives (Optional)
This is the stage where you can add additional ingredients like botanicals, exfoliants, or additives. Popular choices include lavender buds, ground coffee, oatmeal, or dried flowers. Be creative and experiment with various combinations, but be mindful of any skin sensitivities or allergies.
Step 5: Pouring the Soap Mixture
Carefully pour the soap mixture into your chosen silicone soap molds. Gently tap the molds on the tabletop to release any air bubbles trapped inside. If any bubbles persist, lightly spray the surface with rubbing alcohol to eliminate them.
Step 6: Allowing the Soap to Set
Set the molds aside in a cool, dry place and allow the soap to harden completely. This process may take a few hours or overnight, depending on the type of soap base used. Once fully set, the soap should easily release from the molds when gently pressed.
Step 7: Unmolding and Cutting
Remove the soap from the molds by gently stretching the sides or pressing from the bottom. Place the soap on a clean cutting board or surface. Using a knife or soap cutter, carefully cut the soap into your desired shapes and sizes.
Step 8: Curing and Storage
To enhance the longevity and quality of your handmade soap, allow it to cure for at least 4-6 weeks. During this time, the soap will lose excess moisture, resulting in a harder bar that lasts longer. Once cured, store your soap in a cool, dry place or wrap it in wax paper or plastic wrap to preserve its scent and integrity.
Conclusion:
Congratulations! You have successfully crafted your own bath soap from scratch. Experiment with different fragrance combinations, colors, and additives to create truly unique soaps that suit your preferences. Remember to always take safety precautions while handling hot materials and be aware of any potential allergies or sensitivities when choosing ingredients. Enjoy the process and the satisfying feeling of using your own handmade soap in your daily bathing routine!

 Admin
Admin 
