How To Guide: Manicure Method
As someone who takes pride in maintaining well-groomed nails, I understand the importance of a good manicure. A manicure not only enhances the appearance of your nails but also promotes their health. If you are looking for an easy-to-follow guide on how to achieve a salon-worthy manicure at home, you've come to the right place. Here is a step-by-step method to help you achieve beautiful nails:
Step 1: Gather Your Tools
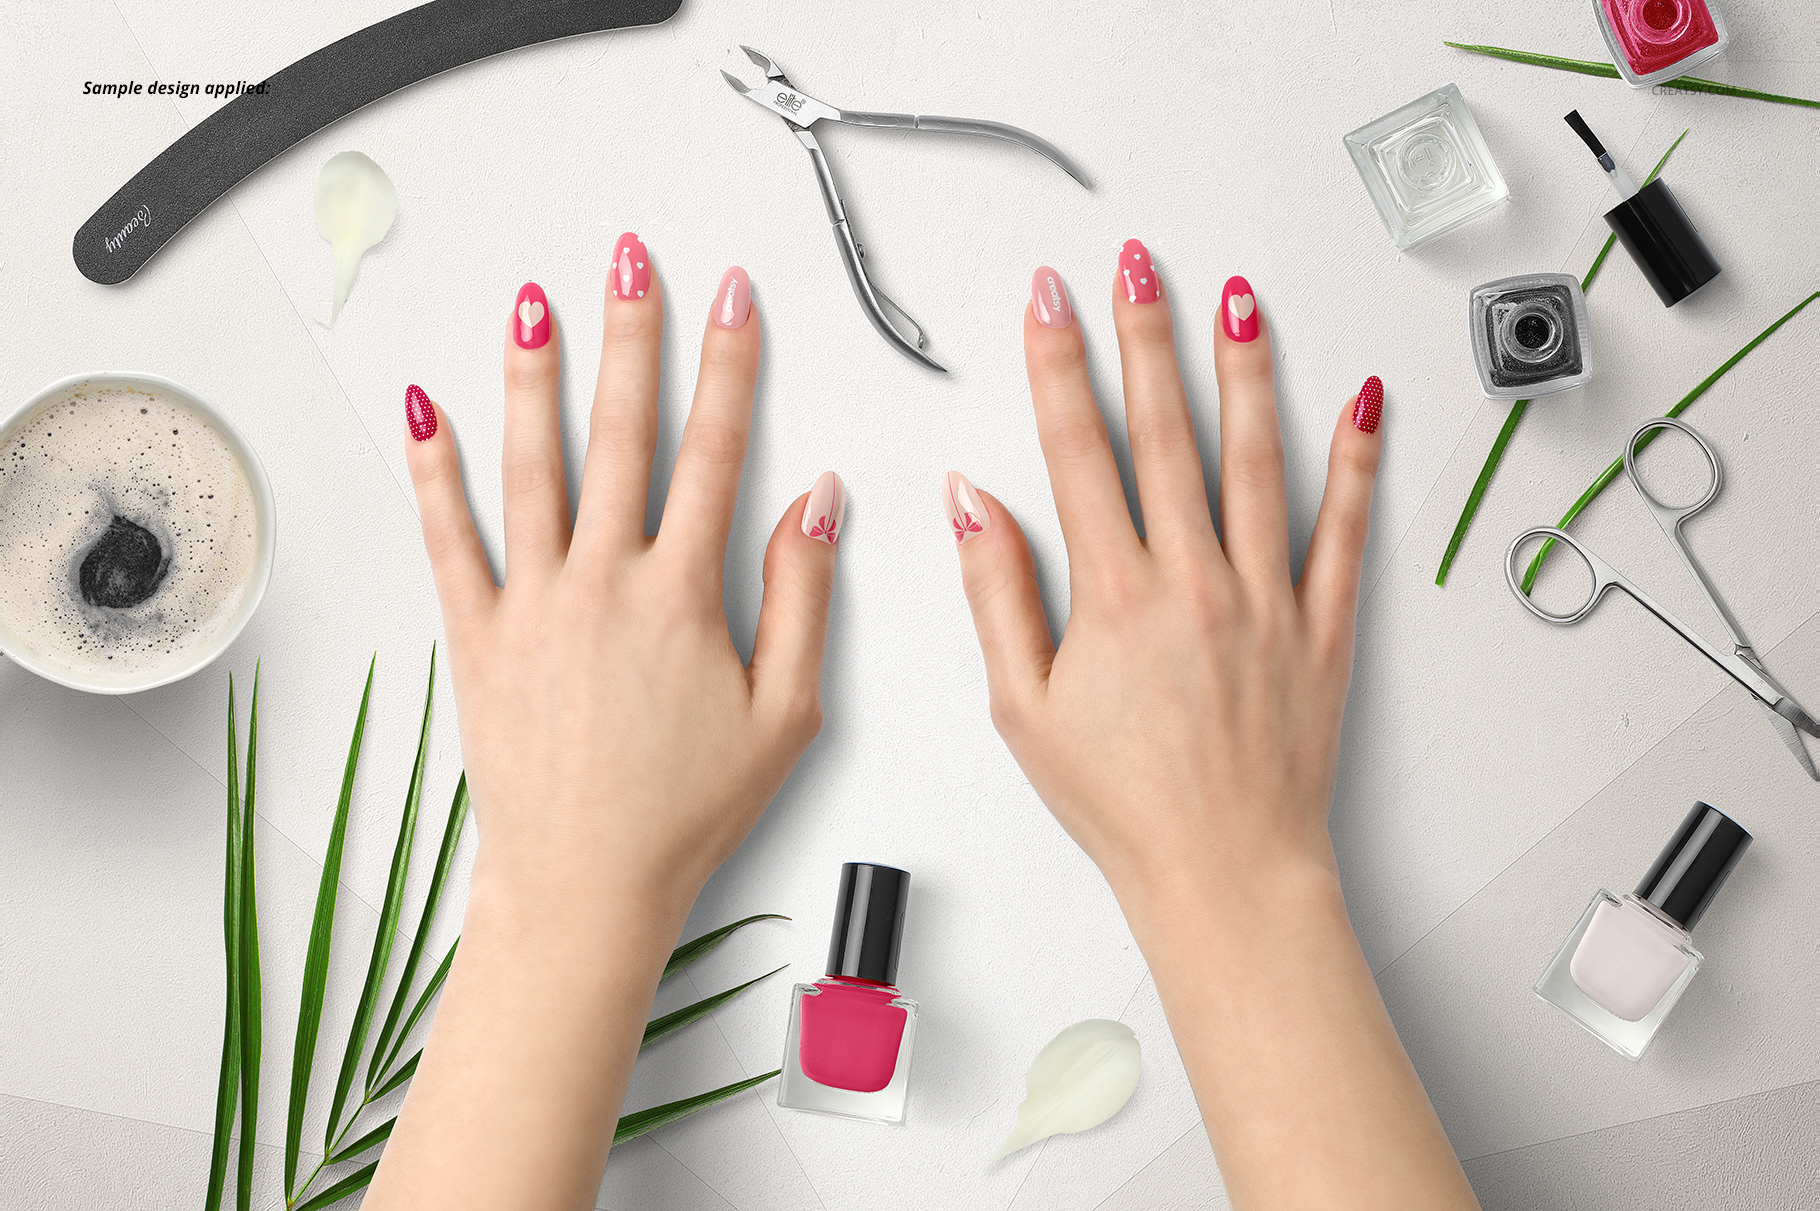
Before you begin, make sure you have all the necessary tools for a manicure. Here's a list of what you will need:
- Nail polish remover
- Cotton pads or balls
- Nail file
- Cuticle pusher or orange stick
- Cuticle oil
- Hand cream
- Base coat
- Nail polish
- Top coat
- Nail buffer (optional)
With all your tools ready, you're all set to start!
Step 2: Remove Old Nail Polish
Start by removing any old nail polish. Apply a small amount of nail polish remover onto a cotton pad or ball and gently rub it over each nail until all the polish is removed. Take care not to press too hard, as this can damage your nails.
Step 3: Shape Your Nails
Next, shape your nails to your desired style. Using a nail file, carefully file your nails in one direction to avoid splitting or weakening them. Whether you prefer a squared, rounded, or almond shape, aim for consistency and keep the length balanced.
Step 4: Take Care of Your Cuticles
Now, it's time to give your cuticles some attention. Soak your fingertips in warm water for a few minutes to soften the cuticles. Gently push back the cuticles using a cuticle pusher or an orange stick. Remember to be gentle to avoid causing any damage.
Step 5: Moisturize and Hydrate
Massage a few drops of cuticle oil onto each nail, including the cuticle area. This will nourish and moisturize your nails and cuticles, promoting healthy growth. Follow up with a hydrating hand cream, massaging it into your hands and lower arms for extra moisture.
Step 6: Apply a Base Coat
Now it's time to prepare your nails for the polish. Apply a thin, even layer of base coat to each nail. This will provide a smooth surface for the polish and ensure longer-lasting wear.
Step 7: Apply Nail Polish
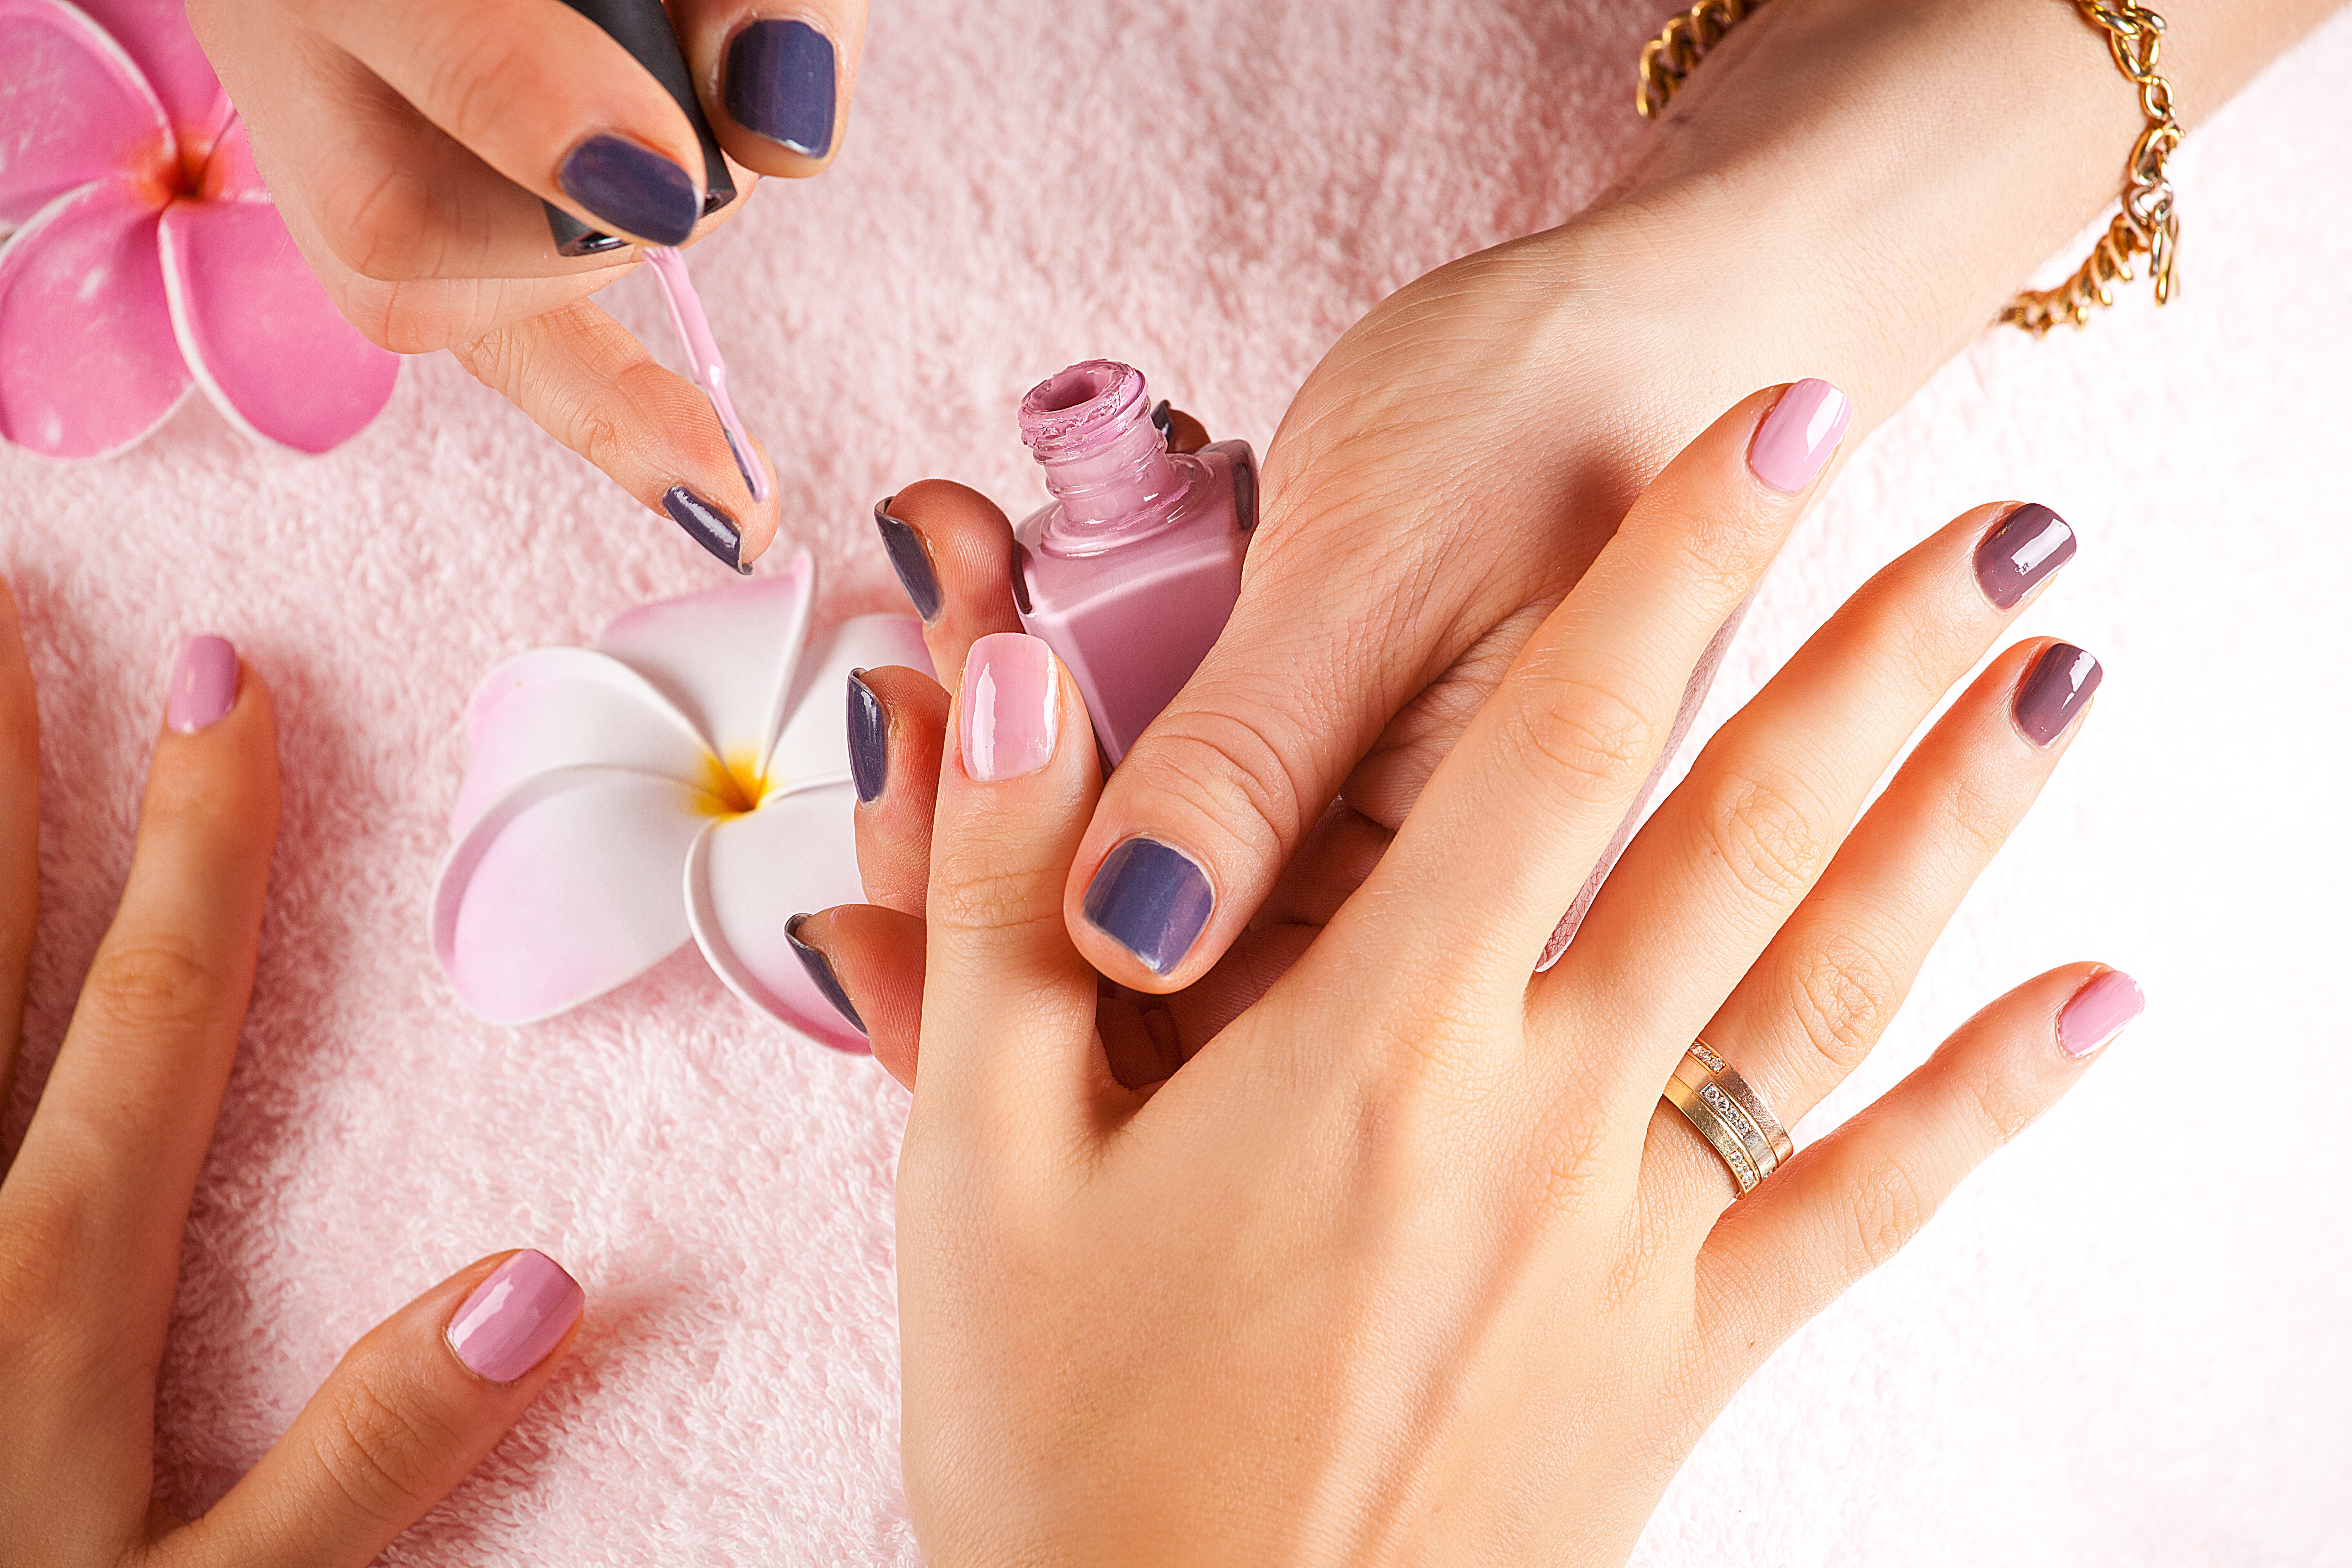
Choose your preferred color of nail polish and apply it in thin, even strokes. Start from the base of your nail and work your way towards the tip. For an even application, try to cover the entire nail in three strokes: one down the center and one on each side. Allow the first coat to dry completely before applying a second coat if desired.
Step 8: Add a Protective Top Coat
To seal and protect your nail polish, apply a top coat once the color is completely dry. A top coat will add shine and durability to your manicure, preventing chipping and extending the life of your polish.
Step 9: Finishing Touches
After your nails are completely dry, take a final look for any imperfections. Use a cotton swab dipped in nail polish remover to clean up any excess polish around the edges.
Step 10: Maintain Your Manicure
To ensure your manicure lasts longer, wear gloves while doing chores, use gentle hand soaps, and reapply top coat every few days to maintain shine and prevent chipping.
By following this method, you can achieve a professional-looking manicure right at home. Remember to take your time and enjoy the process. Regular manicures will not only make your nails look fabulous but also promote healthy nail growth. So go ahead, pamper yourself and show off those beautiful nails!

 Admin
Admin 


