How To Make Strawberry Jam
Hello there! Today, I will guide you through the process of making delicious homemade strawberry jam. There's nothing quite like the taste of freshly made jam bursting with the sweetness of ripe strawberries. Let's get started!
Here's what you'll need:
- 2 pounds of fresh strawberries
- 4 cups of granulated sugar
- 1/4 cup of lemon juice
Step 1: Prepare the Strawberries
First, wash your strawberries thoroughly under cold water. Remove the stems and cut the strawberries into small pieces. If you prefer a chunkier texture, you can leave some larger chunks.
Step 2: Macerate the Strawberries
In a large bowl, combine the strawberries, sugar, and lemon juice. Stir everything together until the sugar is dissolved. Let the mixture sit for about an hour, allowing the strawberries to release their juices.
Step 3: Prepare the Jars
While the strawberries are macerating, it's time to prepare your jars. Wash them in hot, soapy water, and rinse them well. Sterilize the jars by placing them in a pot of boiling water for 10 minutes. Make sure the jars are completely submerged. Set them aside to cool.
Step 4: Cook the Strawberry Mixture
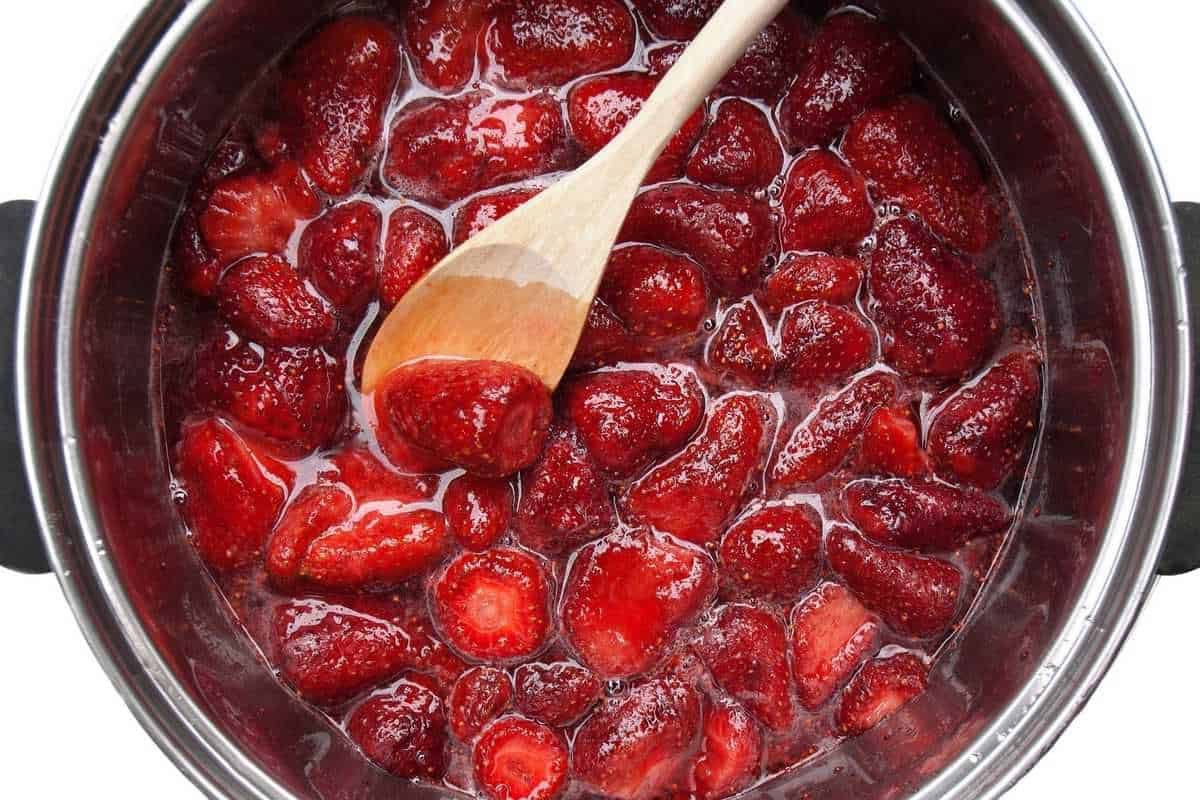
After the hour has passed, transfer the strawberry mixture to a large, heavy-bottomed pot. Bring the mixture to a boil over medium-high heat, stirring occasionally. Skim off any foam that forms on the surface.
Step 5: Test for Doneness
To check if the jam is ready, perform the "wrinkle" test. Place a small amount of the boiling jam onto a chilled plate. Let it cool for a moment, then gently push it with your fingertip. If it wrinkles and holds its shape, it's done. If not, continue cooking for a few more minutes.
Step 6: Jar the Jam
Once the jam has reached the desired consistency, carefully ladle it into the sterilized jars, leaving about 1/4 inch of headspace at the top. Wipe the rims of the jars with a clean, damp cloth to remove any residue. Place the lids onto the jars and screw on the metal bands until finger-tight.
Step 7: Process the Jars
To ensure the jars are properly sealed, you can process them in a water bath. Place the jars in a pot of boiling water, making sure they are fully submerged, and process for about 10 minutes. Remove the jars from the water and let them cool on the counter undisturbed.
Step 8: Enjoy Your Homemade Strawberry Jam
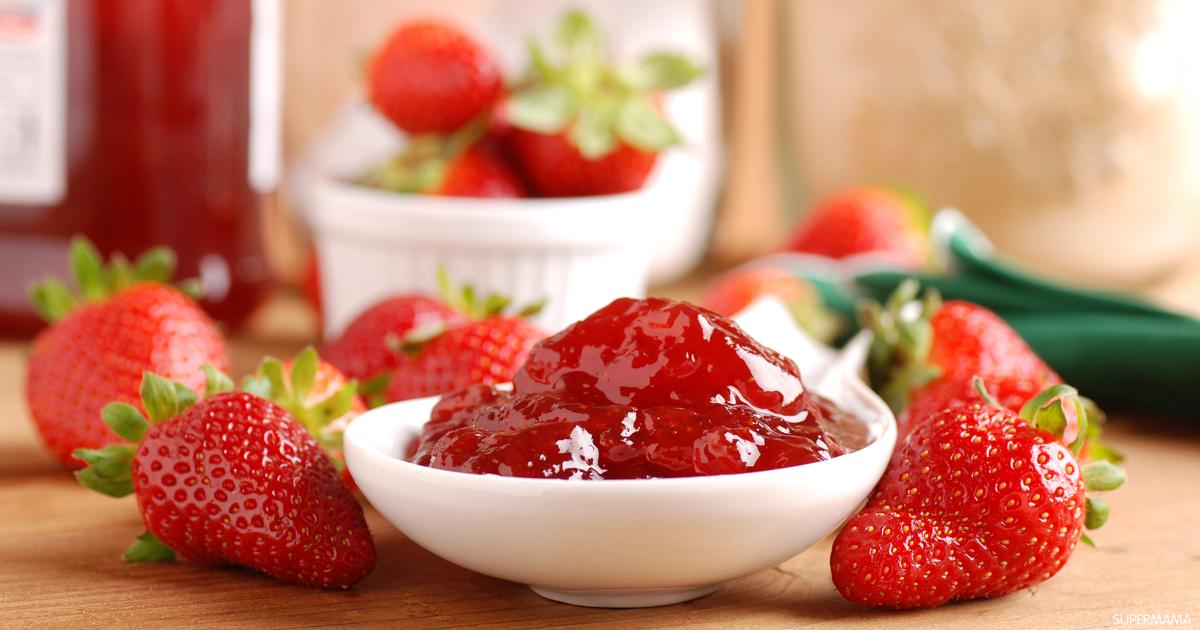
Once the jars have cooled, check for proper seals. Press the center of each lid. If it doesn't move or make a popping sound, it's sealed. Store your homemade strawberry jam in a cool, dark place. It will last for up to a year when properly sealed.
Now you know how to make your own delightful strawberry jam! Spread it on toast, dollop it on scones, or sneak a spoonful straight from the jar. It's the perfect way to capture the taste of summer and enjoy it all year round. Happy jam-making!


 Admin
Admin 


