How To Guide: The Modus Operandi of Pumpkin Jam
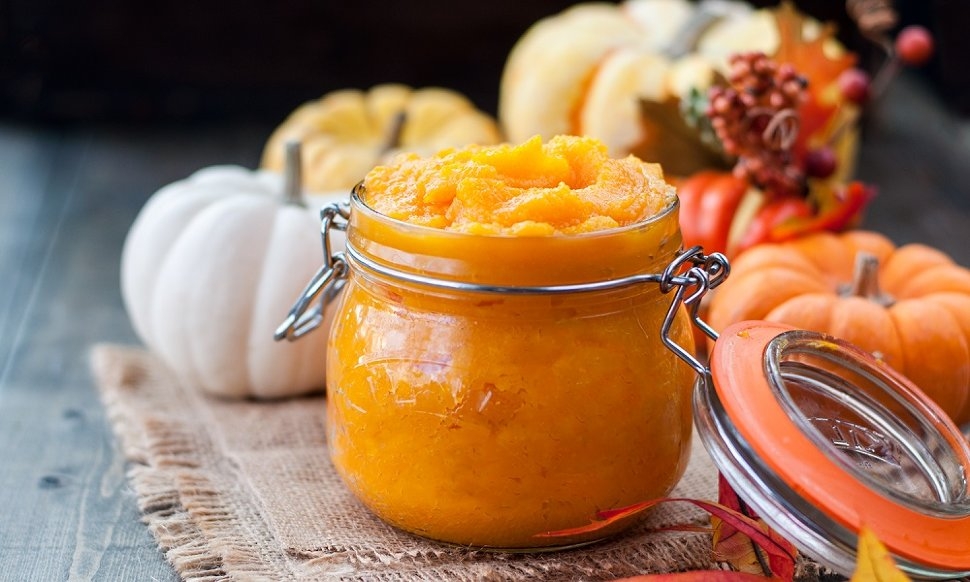
Hello there! If you're a fan of all things pumpkin and enjoy indulging in delicious spreads, then you're in for a treat. In this guide, I will walk you through the modus operandi, or the method of operation, of making your very own homemade pumpkin jam. Get ready to savor this autumn-inspired delight!
Ingredients:
Let's start with the ingredients you will need:
- 1 medium-sized pumpkin (around 2-3 lbs)
- 2 cups granulated sugar
- 1 lemon (juice and zest)
- 1 teaspoon ground cinnamon
- 1/2 teaspoon ground nutmeg
- 1/4 teaspoon ground cloves
- 1/4 teaspoon ground ginger
Equipment:
Gather the following equipment before you begin:
- Large saucepan
- Vegetable peeler
- Knife and cutting board
- Potato masher or immersion blender
- Sterilized glass jars
- Canning funnel and ladle
- Pot holder or jar lifter
- Kitchen timer
Now that you have everything ready, let's jump into the modus operandi of making pumpkin jam!
Step 1: Prepare the Pumpkin
Start by peeling the pumpkin and removing the seeds and fibrous pulp. Cut the peeled pumpkin into small cubes, ensuring they are of uniform size.
Step 2: Cook the Pumpkin
Place the cubed pumpkin in a large saucepan and fill it with just enough water to cover the pumpkin. Place the saucepan on medium heat and bring it to a gentle boil. Cook the pumpkin until it becomes tender and can be easily mashed with a fork.
Step 3: Mash the Pumpkin
Once the pumpkin is cooked, remove the saucepan from the heat. Using a potato masher or an immersion blender, mash the pumpkin until it reaches a smooth consistency. You can leave it slightly chunky if you prefer some texture.
Step 4: Add the Flavor
Return the saucepan to low heat and add the sugar, lemon juice, lemon zest, cinnamon, nutmeg, cloves, and ginger to the mashed pumpkin. Stir everything together until well combined. Continue cooking on low heat, stirring occasionally, for about 20-30 minutes, or until the mixture thickens.
Step 5: Test for Doneness
To check if the jam has reached the desired consistency, perform the plate test. Place a small amount of the mixture on a chilled plate and let it cool for a moment. If it doesn't spread and has a jam-like texture, then it's ready. If not, continue cooking for a few more minutes and repeat the test.
Step 6: Jar and Preserve
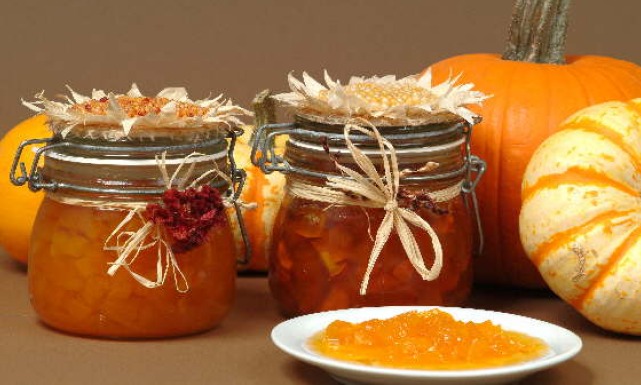
While the jam is still hot, carefully transfer it into sterilized glass jars using a canning funnel and ladle. Leave about 1/4-inch of headspace at the top of each jar. Wipe the jar rims with a clean, damp cloth to ensure a proper seal.
Step 7: Process and Store
Once the jars are filled, place them in a large pot of boiling water, making sure the water level is at least one inch above the lids. Process the jars for 10-15 minutes using a kitchen timer. Afterwards, carefully remove the jars from the pot using pot holders or a jar lifter and let them cool on a heat-resistant surface.
Step 8: Enjoy!
Once the jars have cooled, label them with the date and store them in a cool, dark place. Your homemade pumpkin jam is now ready to be enjoyed! Spread it on toast, use it as a filling for pastries, or even gift it to friends and family.
Conclusion:
Congratulations on mastering the modus operandi of making delightful pumpkin jam! With just a few simple steps, you can create a delicious homemade spread bursting with autumn flavors. So, gather your ingredients, follow the guide, and savor the sweet taste of pumpkin goodness. Happy jam-making!


 Admin
Admin 


