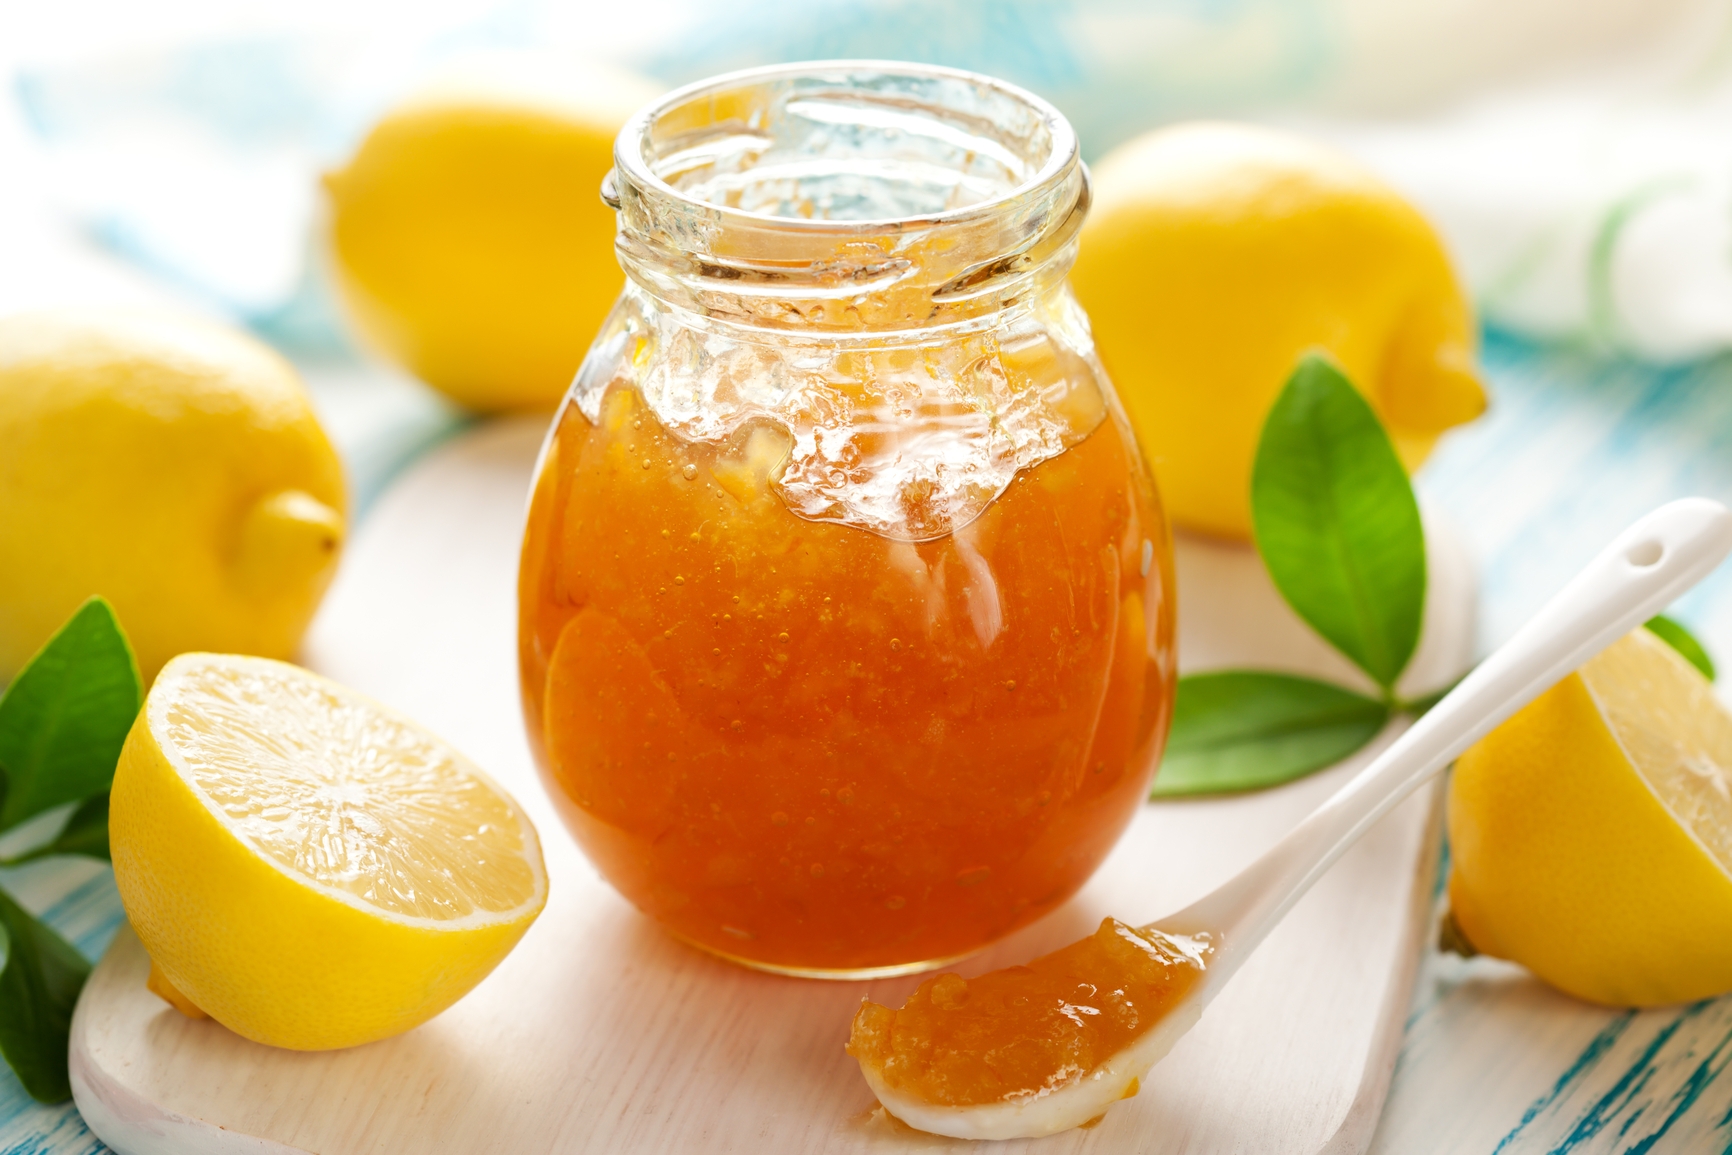
How to Make Lemon Jam: A Step-by-Step Guide
Are you a fan of tangy, citrusy flavors? If so, you're in for a treat! In this guide, I'll walk you through the process of making delicious homemade lemon jam. With just a few simple ingredients and some patience, you can create a jar of sweet and zesty goodness that'll add a burst of sunshine to your breakfast or dessert spreads.
What You'll Need:
Before we dive into the process, gather the following ingredients and tools:
- 8-10 fresh lemons
- 4 cups of granulated sugar
- 1 cup of water
- A large saucepan
- A cooking thermometer
- Glass jars for storing the jam
Step 1: Preparing the Lemons
Start by washing the lemons thoroughly under cold water. Next, zest the lemons to extract their fragrant outer peels. Just make sure you avoid grating the white pith, as it can give the jam a bitter taste. Set the zest aside for later use.
After zesting, cut the lemons in half and juice them. Ensure you remove any pits or seeds in the process. Collect the juice in a separate bowl and discard the leftover pith.
Step 2: Cooking the Jam
In a large saucepan, combine the lemon juice, zest, water, and sugar. Stir gently to dissolve the sugar and bring the mixture to a simmer over medium heat. Continuously stir until the sugar has completely dissolved.
Once the mixture reaches a rolling boil, reduce the heat to low and let it simmer for about 45-60 minutes. Stir occasionally to prevent sticking and ensure even cooking. Skim off any foam that may form on the surface.
Step 3: Determining the Jam's Consistency
To check if your lemon jam has reached the desired consistency, use a cooking thermometer. The jam should reach around 220°F (105°C). If you don't have a thermometer, perform the "wrinkle test." Place a small amount of the jam on a chilled plate and place it in the freezer for a couple of minutes. If the mixture wrinkles when pushed with a finger, it's ready. If not, continue simmering and repeat the test every few minutes.
Step 4: Sterilizing the Jars
While the jam is cooking, take the time to sterilize the jars. Wash them in hot, soapy water, and rinse thoroughly. Place the jars in a preheated oven at 250°F (120°C) for about 15 minutes to ensure they are fully sterilized. Keep the jars in the oven until you're ready to fill them with the hot jam.
Step 5: Filling and Sealing the Jars
Carefully remove the hot jars from the oven using oven mitts or heat-resistant gloves. Using a ladle and a funnel, pour the hot lemon jam into the sterilized jars, leaving about 1/4 inch of headspace at the top. Wipe any spilled jam off the rims with a clean, damp cloth.
Seal the jars tightly with their lids while they're still hot. This will create a vacuum seal, ensuring the safety and longevity of your homemade lemon jam.
Step 6: Cooling and Storing
Allow the jars to cool at room temperature for a few hours. As they cool, you may hear a satisfying "pop" sound, indicating that a proper seal has formed. Once cooled, store the jars in a cool, dark place, such as a pantry or cupboard.
Enjoying Your Lemon Jam
Now that you've made your delectable lemon jam, it's time to savor it! Spread it on toast, pancakes, scones, or use it as a filling for cakes and pastries. The options are endless!
With this simple step-by-step guide, you can bring the refreshing taste of lemons into your kitchen and preserve it for months to come. Get creative and experiment with this versatile homemade jam. Happy jam-making!


 Admin
Admin 


