How To Make Apple Jam
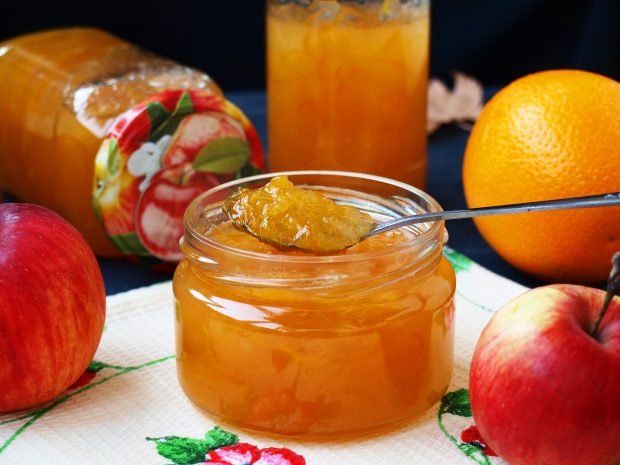
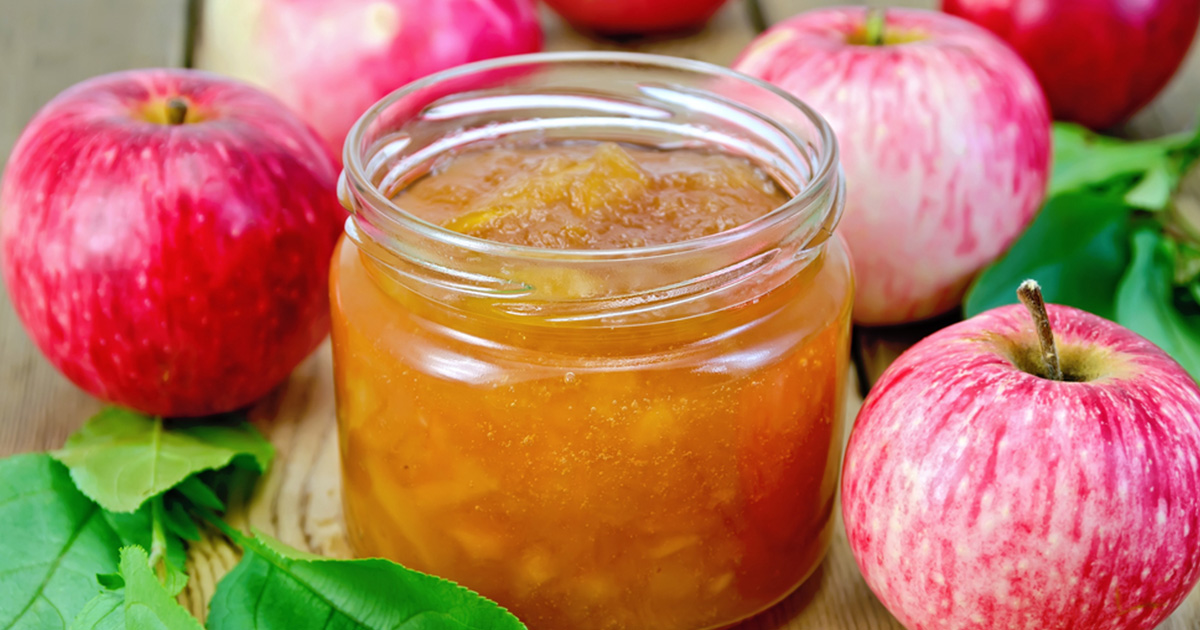
Jam lovers rejoice! If you have a surplus of apples and a sweet tooth, apple jam is the perfect solution. This delightful spread will not only enhance your breakfast, but it also makes for a wonderful homemade gift. Follow this simple step-by-step guide to create your very own delicious apple jam.
Equipment and Ingredients:
Before diving into the jam-making process, gather the following equipment and ingredients:
Equipment:
- Large, heavy-bottomed saucepan
- Wooden spoon
- Potato masher or immersion blender
- Measuring cups and spoons
- Sterilized glass jars with lids
- Canning tongs or jar lifter
- Funnel
- Clean kitchen towel or paper towels
Ingredients:
- 4 lbs (1.8 kg) of apples (preferably tart varieties such as Granny Smith or Braeburn)
- 3 cups (600 g) granulated sugar
- 1 lemon
- 1 cinnamon stick (optional)
- 1 teaspoon of vanilla extract (optional)
Step 1: Preparing the Apples
Begin by peeling, coring, and chopping the apples into small, evenly sized pieces. To prevent browning, you can place the cut apples into a bowl of water with lemon juice.
Step 2: Cooking the Apples
Transfer the prepared apples to the large saucepan and place it over medium heat. Add the sugar, juice of the lemon, and the cinnamon stick if desired. Stir well to combine all the ingredients.
Step 3: Simmering the Mixture
Allow the mixture to simmer for approximately 30-40 minutes, stirring occasionally until the apples soften and the liquid thickens. You can use a potato masher or immersion blender to break down any remaining large pieces of apple for a smoother consistency.
Step 4: Testing for Jam Consistency
To test if the jam has reached the desired consistency, spoon a small amount onto a chilled plate and let it cool for a few minutes. If it wrinkles when you push it with your finger, it's ready. If not, continue simmering for a few more minutes and test again.
Step 5: Final Touches
Once the jam has reached the desired consistency, remove the cinnamon stick if used, and stir in the vanilla extract if desired. This will add extra depth to the flavor. Allow the jam to cool for a few minutes.
Step 6: Sterilizing the Jars
While the jam is cooling, sterilize the glass jars and lids by immersing them in boiling water for a few minutes. Carefully remove the jars from the boiling water using canning tongs or a jar lifter, and place them upside down on a clean kitchen towel or paper towels to dry.
Step 7: Filling the Jars
Using a clean funnel, carefully pour the slightly cooled jam into the sterilized jars, leaving about a ¼ inch (0.6 cm) of headspace at the top. Wipe the rims of the jars clean with a damp cloth to ensure a proper seal.
Step 8: Sealing and Storage
Place a lid on each jar and tighten it securely. If you'd like your jam to have a longer shelf life, you can process the jars in a boiling water bath for 10-15 minutes. Otherwise, refrigerate the sealed jars immediately. The jam will keep in the fridge for up to a month when properly sealed.
Congratulations! You have successfully made your own delicious apple jam. Enjoy it on toast, scones, or even in your favorite dessert recipes. Don't forget to share a jar or two with friends and family, spreading the homemade goodness!


 Admin
Admin 


