How to Guide: Creating Date Cubes
Hello there! Are you looking for a fun and easy way to incorporate dates into your cooking or baking? Look no further than date cubes! These little cubes of sweet goodness are versatile and can be used in a variety of dishes. In this guide, I will walk you through the simple steps to create your own homemade date cubes.
Ingredients:
- Fresh dates
- Water
Tools and Supplies:
- Knife
- Cutting board
- Pot
- Measuring cup
- Measuring spoons
- Ice cube tray
- Freezer
Now that we have everything we need, let's get started!
Step 1: Preparation and Cleaning
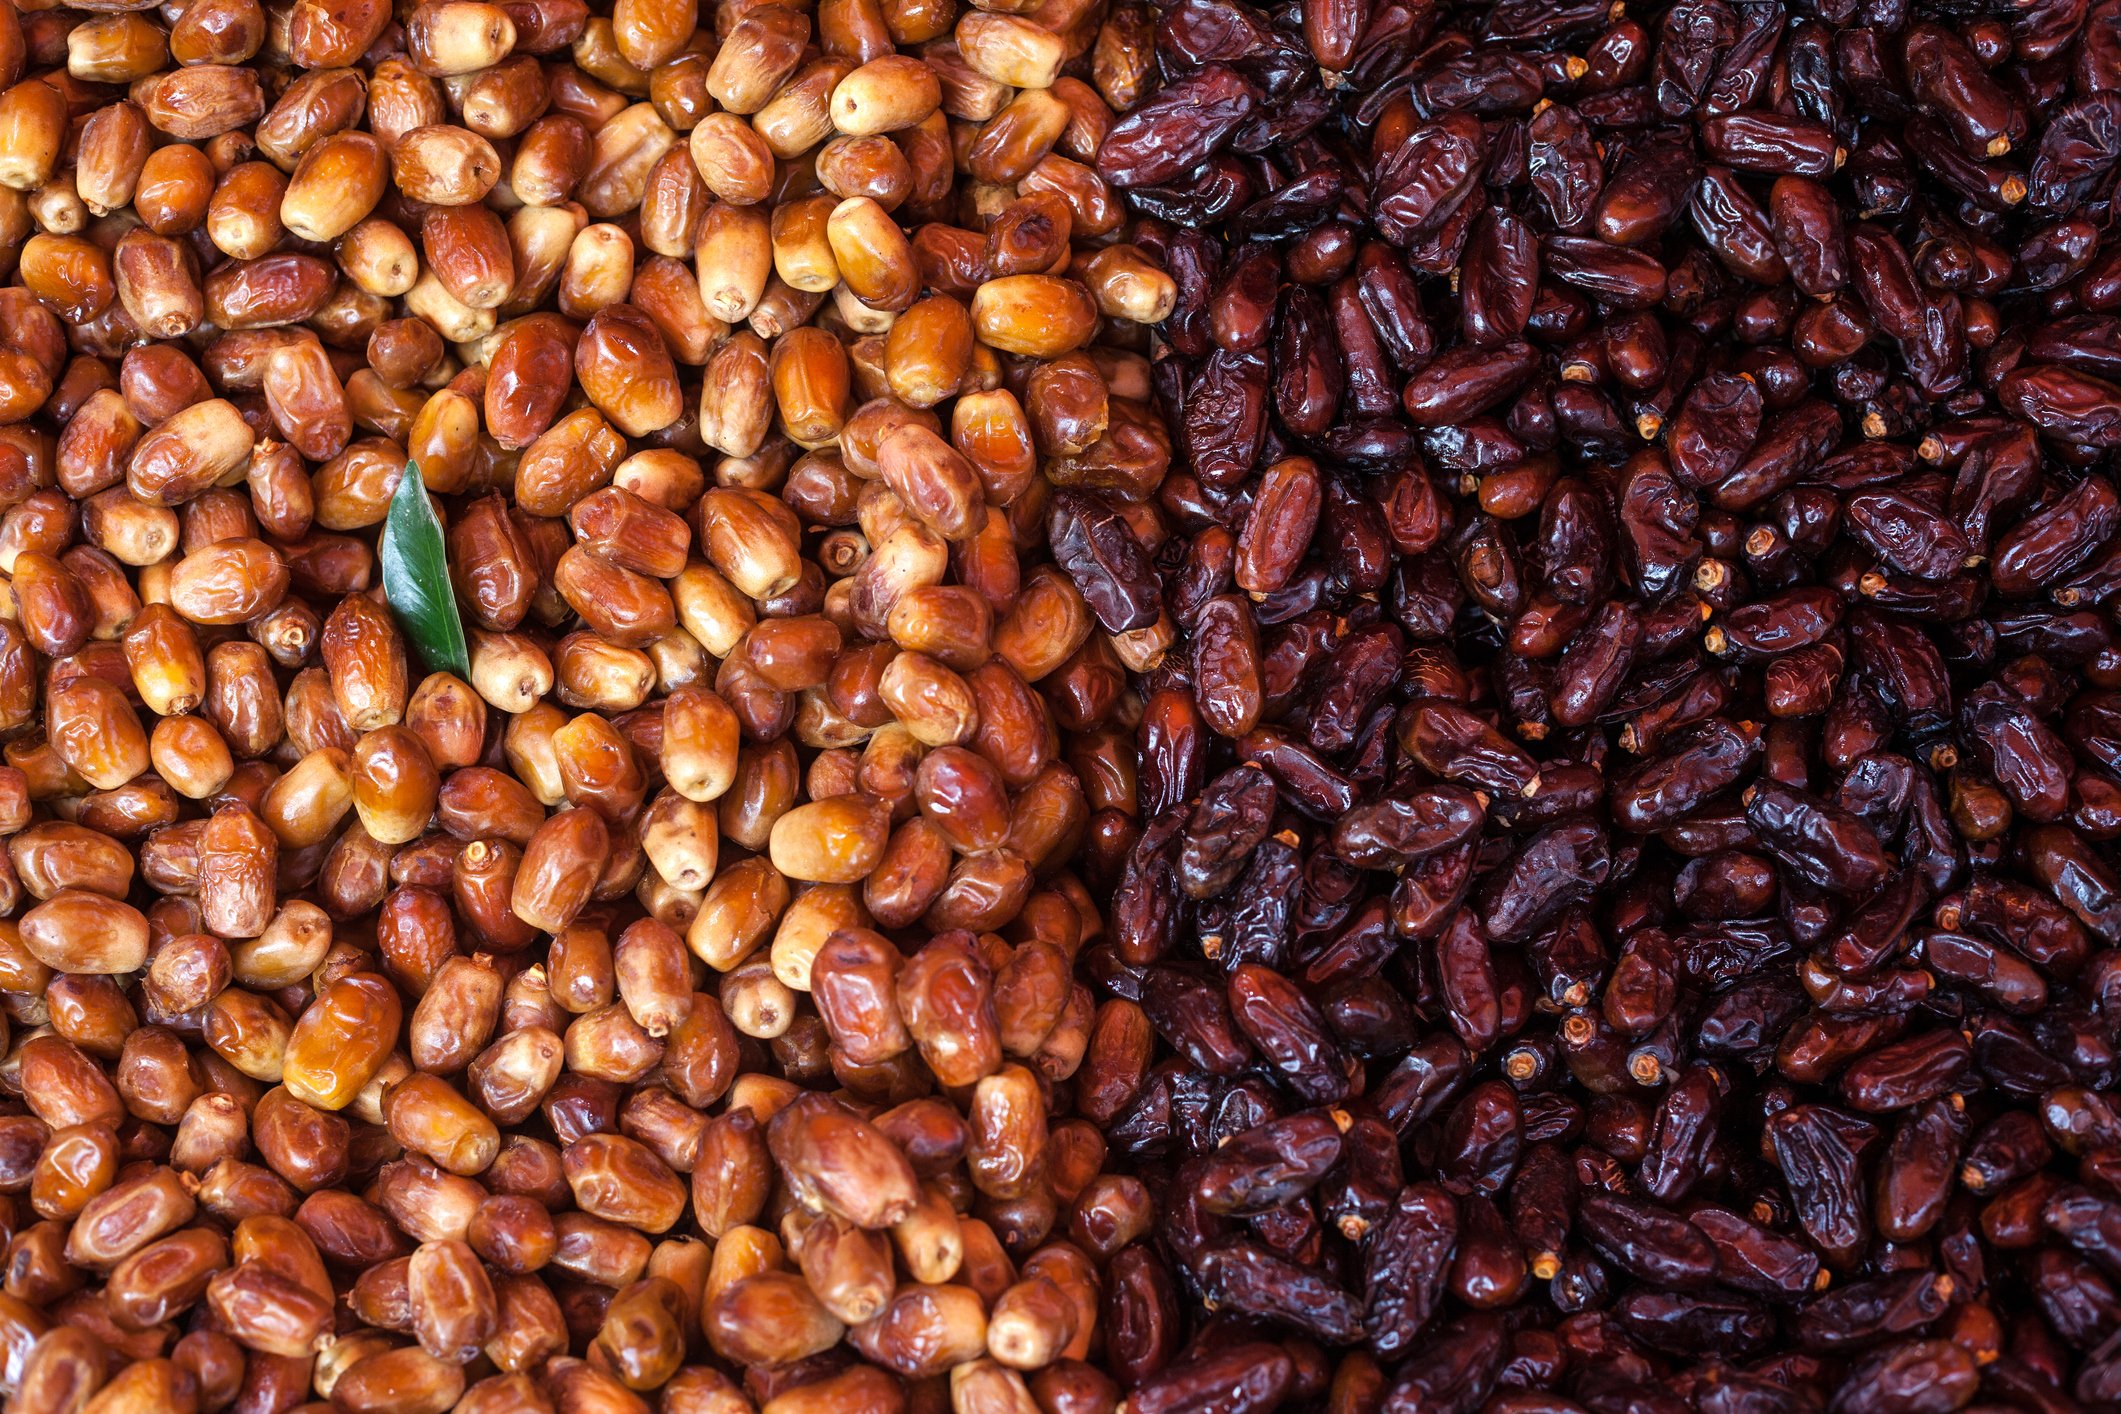
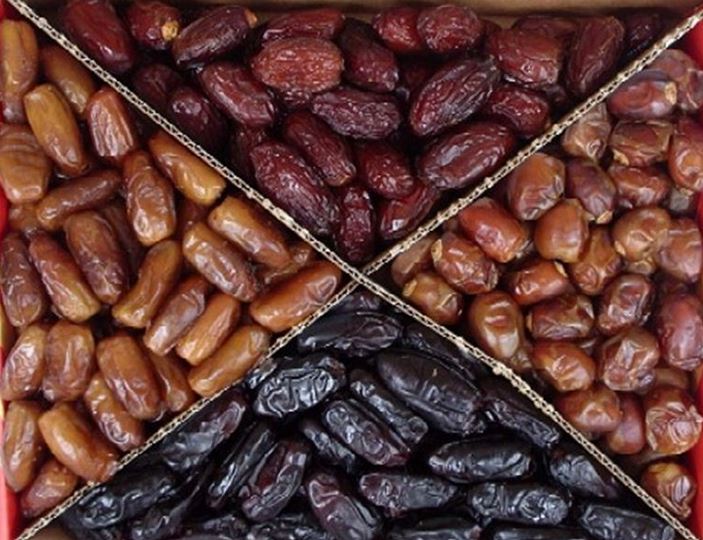
Begin by selecting fresh dates. Look for dates that are plump, soft, and have a shiny appearance. Check for any signs of spoilage or mold and discard any that are not in the best condition.
Next, rinse the dates under cool running water to remove any dirt or debris. Gently pat them dry with a clean kitchen towel.
Step 2: Pitting and Chopping
Place a date on the cutting board and, keeping your fingers out of the way, carefully cut it lengthwise with a sharp knife. Open the date and remove the pit. Repeat this process with the remaining dates.
Once the dates are pitted, chop them into small pieces. The size of the cubes is up to your preference, but aim for bite-sized pieces that will fit nicely into your ice cube tray.
Step 3: Blending and Simmering
Transfer the chopped dates into a pot and add enough water to cover them. For every cup of chopped dates, add half a cup of water.
Place the pot on the stovetop over medium heat and bring the mixture to a simmer. Allow the dates to cook in the water for about 10-15 minutes, or until they become soft and mushy.
Step 4: Blending and Freezing
Once the cooked dates have cooled slightly, transfer them to a blender or food processor. Blend until smooth and creamy, adding a little water if needed to achieve the desired consistency.
Now, it's time to pour the date mixture into the ice cube tray. Fill each compartment with the blended mixture, ensuring they are evenly distributed.
Carefully place the ice cube tray in the freezer and allow the date cubes to freeze completely. This process usually takes around 3-4 hours, but it's best to leave them overnight for best results.
Step 5: Storing and Using
Once the date cubes are completely frozen, remove them from the freezer and pop them out of the ice cube tray. Transfer the cubes into a ziplock bag or an airtight container, and store them in the freezer for future use.
These date cubes can be used in a multitude of ways. Add them to smoothies for extra sweetness and creaminess, toss them into oatmeal or yogurt for a burst of flavor, or use them as a natural sweetener in baking. The possibilities are endless!
Now that you have mastered the art of creating date cubes, get creative in the kitchen and enjoy the sweet rewards of your efforts. Have fun experimenting and exploring all the delicious ways to incorporate these date cubes into your culinary creations!


 Admin
Admin 

