Title: A Comprehensive Guide on Making Powdered Milk and Its Filling and Packaging Process
Introduction:
In this practical guide, I will walk you through the process of producing powdered milk and provide insights on utilizing a filling and packaging machine for efficient and hygienic packaging. Let's explore step-by-step instructions to produce powdered milk and optimize its storage for enhanced shelf life and convenience.
Table of Contents:
- Introduction
- Understanding Powdered Milk
- Producing Powdered Milk
- Step 1: Preparation and Sourcing
- Step 2: Pasteurization
- Step 3: Evaporation
- Step 4: Drying
- Step 5: Grinding
- Filling and Packaging Machine
- Step 1: Acquisition
- Step 2: Machine Setup
- Step 3: Filling Process
- Step 4: Packaging Process
- Step 5: Labeling
- Conclusion
Section 2: Understanding Powdered Milk
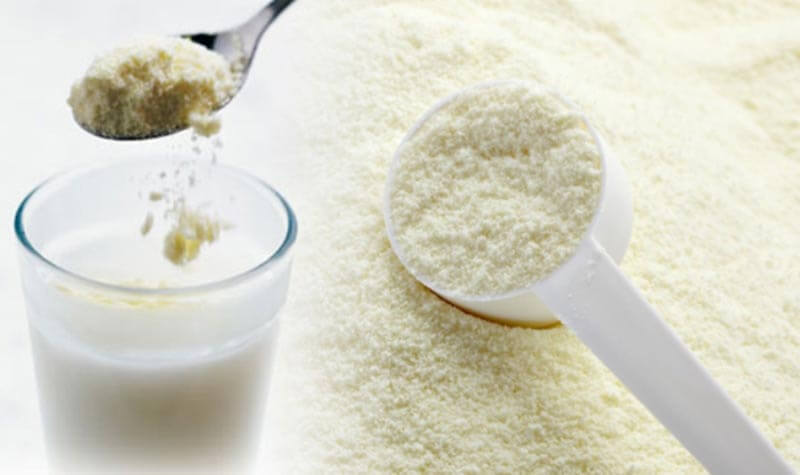
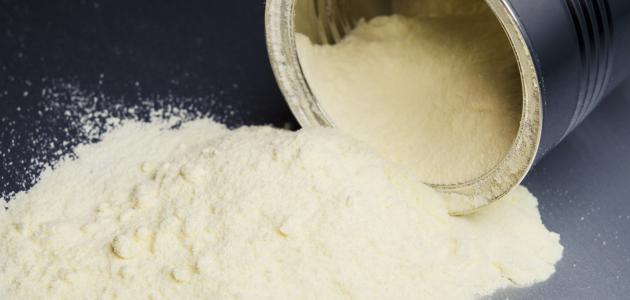
Before diving into the production process, it's important to grasp the nature of powdered milk. Powdered milk is typically created by evaporating the moisture content from regular milk, resulting in a dry, shelf-stable product that retains most of the original nutrients found in fresh milk. It serves as an excellent alternative to fresh milk due to its extended shelf life, easy transportation, and convenience.
Section 3: Producing Powdered Milk
Step 1: Preparation and Sourcing
- Choose high-quality milk with a low fat content for optimal results.
- Ensure that all equipment, tools, and surfaces are clean and sanitized.
Step 2: Pasteurization
- Heat the milk to a specified temperature (usually between 72-75°C) to kill any harmful bacteria.
- Maintain this temperature for a specific time (often around 15-20 seconds).
Step 3: Evaporation
- Transfer the pasteurized milk to an evaporator to remove excess water.
- Apply gentle heat to evaporate the moisture, concentrating the milk solids.
Step 4: Drying
- Utilize a spray dryer or a drying chamber to convert the concentrated milk into small particles.
- The milk particles are then dried using hot air until the desired moisture content is achieved.
Step 5: Grinding
- Pass the dried milk particles through a grinder to create a fine powder texture.
- Sieve the ground powder to ensure uniform particle size.
Section 4: Filling and Packaging Machine
Step 1: Acquisition
- Choose a suitable filling and packaging machine based on your production requirements and budget.
- Ensure the machine is designed specifically for dairy products and meets safety regulations.
Step 2: Machine Setup
- Familiarize yourself with the operational manual for the specific machine you have acquired.
- Prepare the machine according to the provided instructions, including cleaning and calibration.
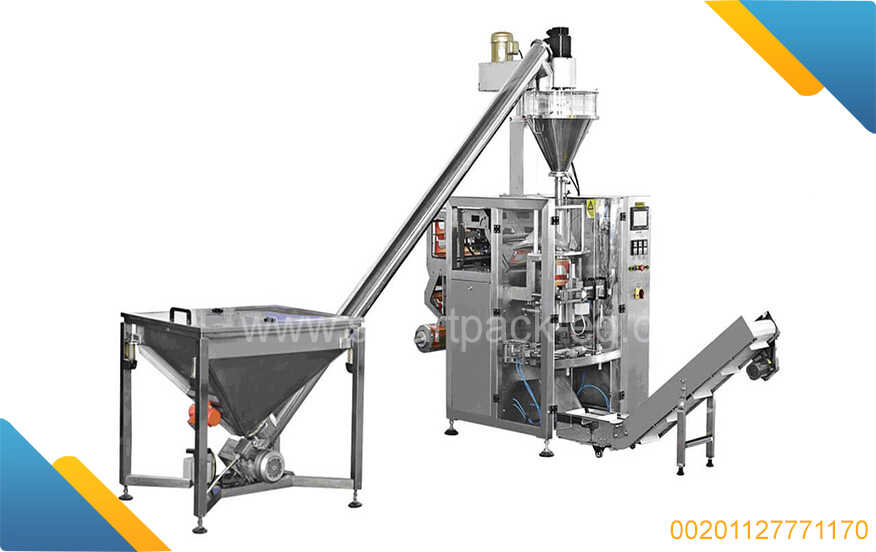
Step 3: Filling Process
- Transfer the powdered milk into a hopper attached to the machine.
- Set the desired weight/volume of each package on the machine's control panel.
- The machine will automatically dispense the correct amount of powdered milk into each package.
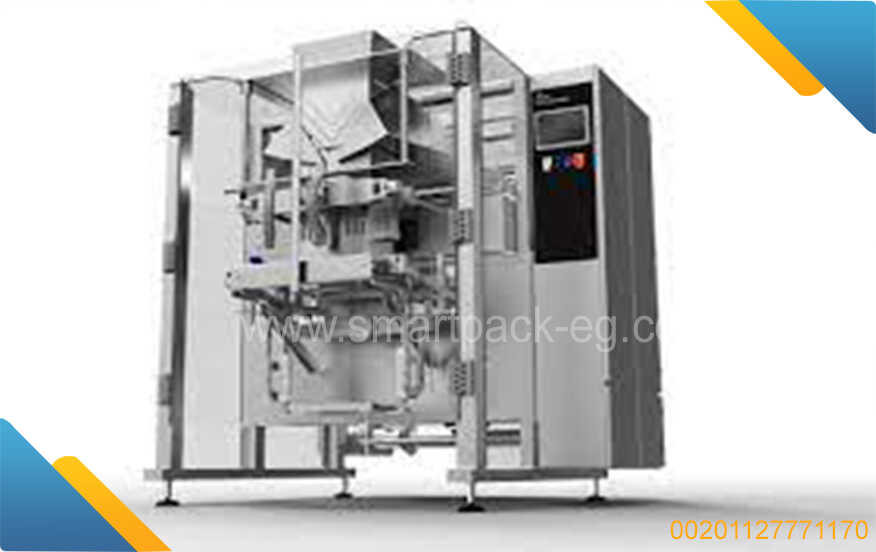
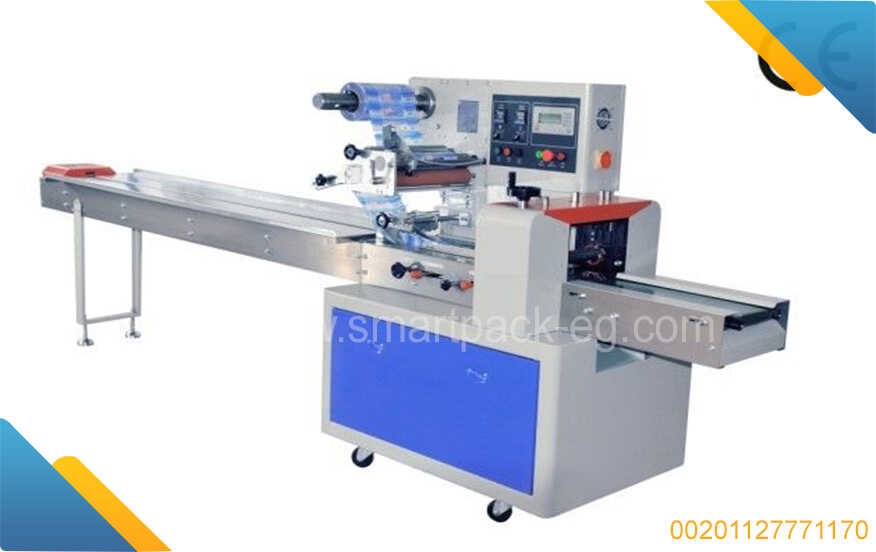
Step 4: Packaging Process
- Ensure that the packaging material (e.g., sachets, bags, or jars) is clean and in good condition.
- Adjust the machine to accommodate your specific packaging requirements, including size and shape.
- Activate the machine, allowing it to efficiently fill and seal the packages.
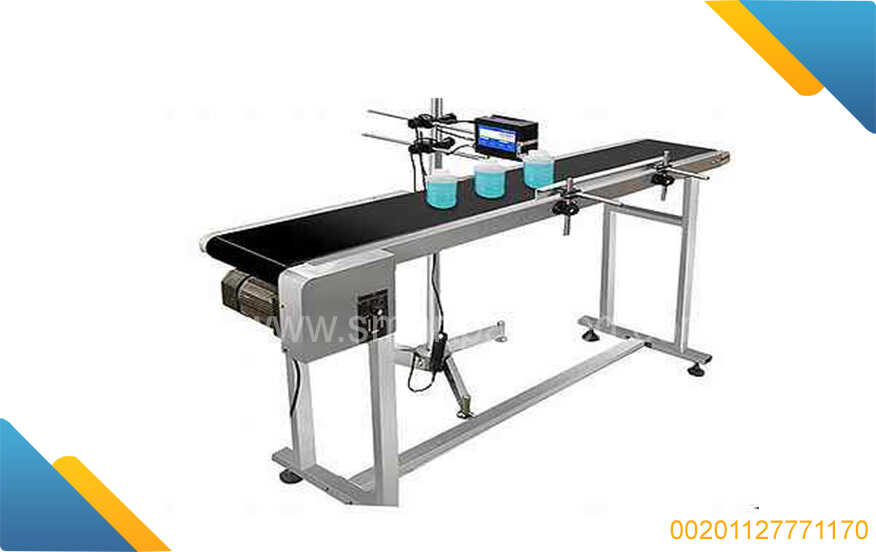
Step 5: Labeling
- After packaging, add appropriate labels to each package displaying important information such as product name, batch number, expiration date, and nutritional details.
Conclusion:
By following this comprehensive guide, you can produce high-quality powdered milk using a systematic approach. Additionally, implementing a filling and packaging machine will streamline the process, improving efficiency and ensuring hygienic packaging. Remember, always prioritize cleanliness, quality ingredients, and adherence to safety guidelines to produce a superior powdered milk product.

 Admin
Admin 