Title: A Comprehensive Guide to Growing Cloves at Home
Introduction:
Welcome to this step-by-step guide to cultivating cloves from the comfort of your own home. Cultivating cloves can be a rewarding and fulfilling experience, allowing you to enjoy the aromatic and flavorful benefits of this versatile spice. By following these best practices, you'll create an optimal environment for your clove plants to thrive, ensuring their safe and effective growth. Let's dive in!
Step 1: Selecting the Right Location
Choosing the right location is crucial for successful clove cultivation. Clove plants require a tropical or subtropical climate with warm temperatures, high humidity, and ample sunlight. Look for a spot in your garden that receives partial shade, especially during the hottest part of the day.
Step 2: Preparing the Soil
Cloves thrive in well-draining soil that is rich in organic matter. Prior to planting, prepare the soil by loosening it and removing any rocks, weeds, or debris. Amend the soil with compost or well-rotted manure to improve its texture and fertility. Aim for a slightly acidic soil with a pH range of 6.0 to 7.0.
Step 3: Choosing Clove Seedlings
Purchasing healthy and disease-free clove seedlings is crucial. Look for small plants with lush green leaves and a well-established root system. Inspect the leaves for any signs of discoloration, pests, or disease. Ideally, select seedlings that are six to eight inches tall.
Step 4: Planting the Clove Seedlings
Dig holes that are approximately twice the size of the seedling's root ball, ensuring proper spacing between each plant (typically around six feet). Place the seedling in the hole and gently firm the soil around it, making sure not to plant it too deep or bury the stem. Water thoroughly after planting.
Step 5: Watering and Fertilizing
Clove plants require consistent moisture but should not be waterlogged. Water the plants deeply, allowing the soil to dry out slightly between waterings. Mulching around the plants can help retain moisture and prevent weed growth. Apply a balanced organic fertilizer every 2-3 months to ensure healthy growth.
Step 6: Pruning and Maintenance
Regular pruning helps maintain the shape and size of clove plants, improving air circulation and sunlight penetration. Trim off any dead or diseased branches, as well as any suckers that may emerge from the base of the plant. Additionally, make sure to remove any weeds around the plant to prevent competition for nutrients.
Step 7: Pest and Disease Control
Cloves are generally pest and disease resistant, but it's essential to monitor your plants regularly. Watch out for common pests such as aphids, mites, or mealybugs. If necessary, treat with organic insecticidal soap or neem oil. Similarly, address any signs of fungal or bacterial infections promptly by using appropriate organic fungicides or bactericides.
Step 8: Harvesting Cloves
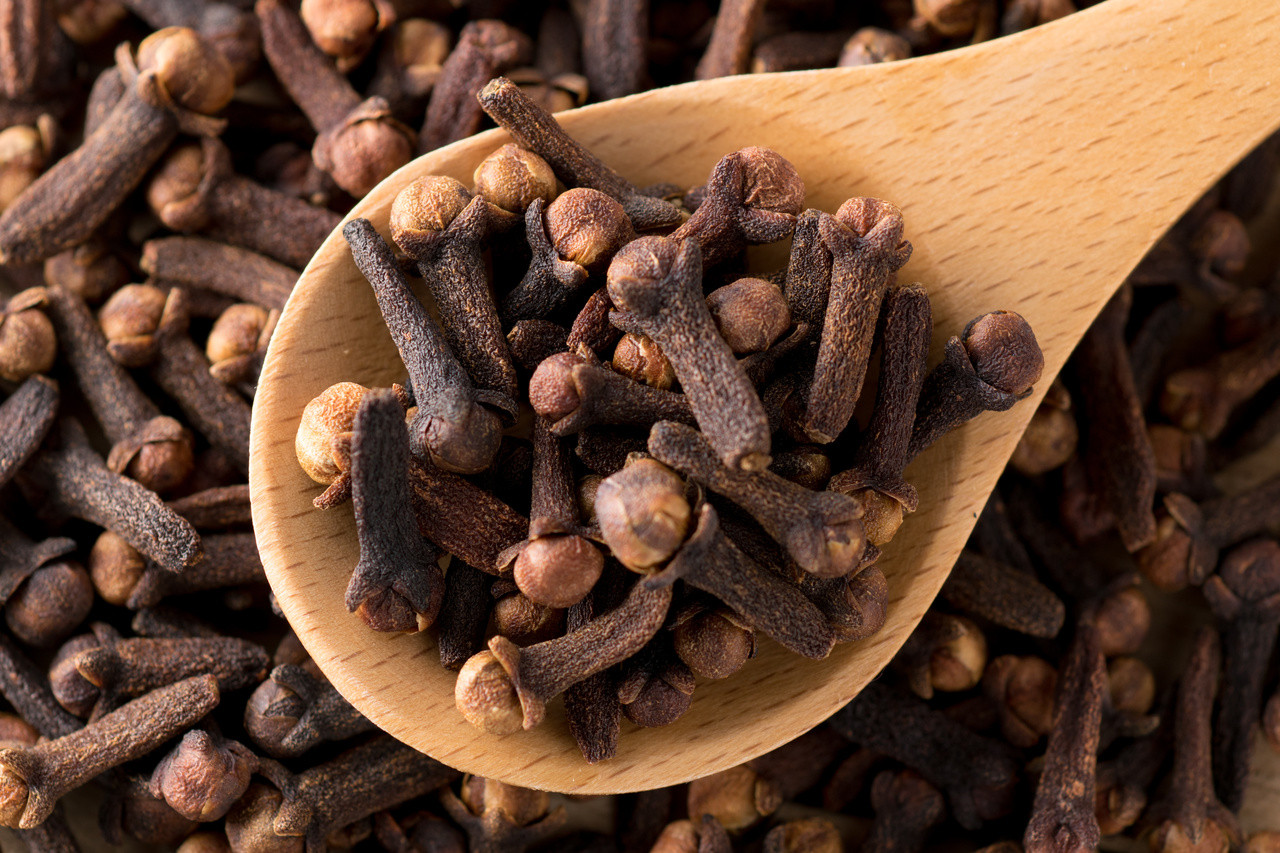
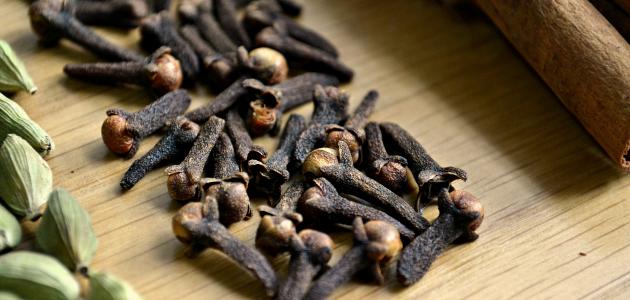
It takes several years for clove plants to mature and produce flowers. Once the flower buds turn pink, they are ready for harvest. Gently pluck or cut the buds from the tree using sharp scissors or pruners. Dry the cloves in a cool, shaded area for about a week until they become brittle.
Conclusion:
Growing your own cloves at home is a gratifying experience that provides you with a fresh supply of this flavorful spice. By following these steps, you'll ensure safe and effective cultivation, increasing your chances of success. Remember to consistently care for your plants by providing them with optimal growing conditions, proper nourishment, and vigilant pest and disease control. Stay patient and enjoy the journey towards becoming a successful home clove cultivator!


 Admin
Admin 


