How to Make Shea Butter: A Step-by-Step Guide
Shea butter is a versatile natural product known for its moisturizing and nourishing properties. With its rich texture and numerous benefits for the skin and hair, making your own shea butter at home can be a rewarding and cost-effective alternative to store-bought options. Here is a step-by-step guide to help you create your very own shea butter.
What You'll Need:
-
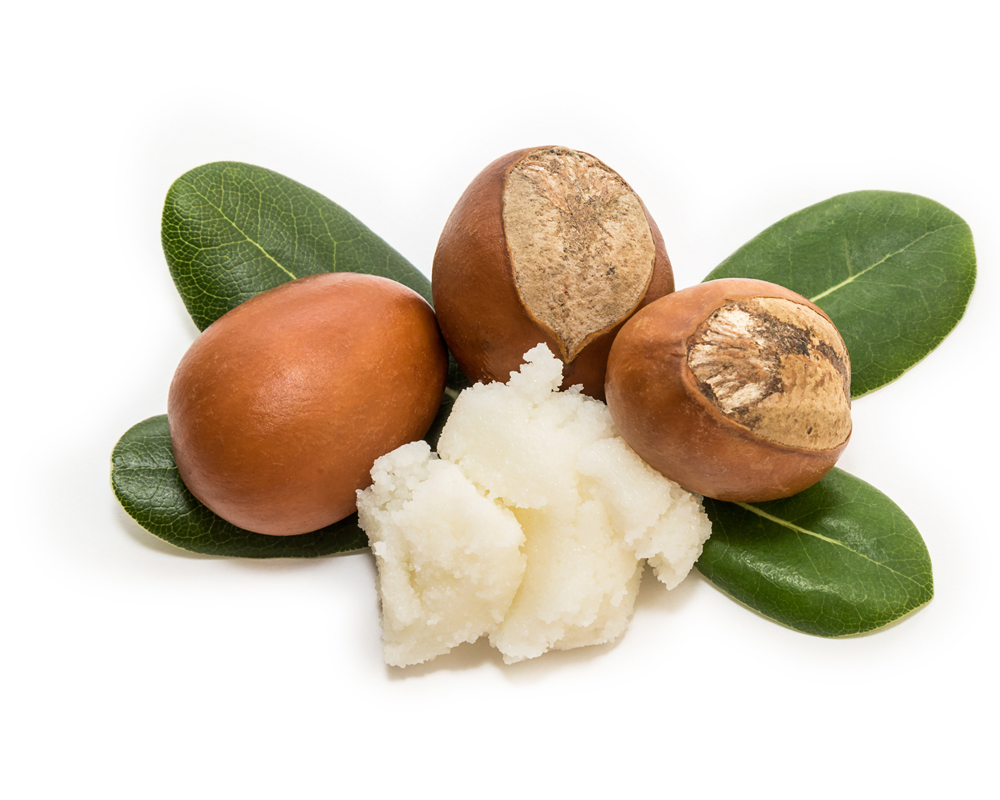
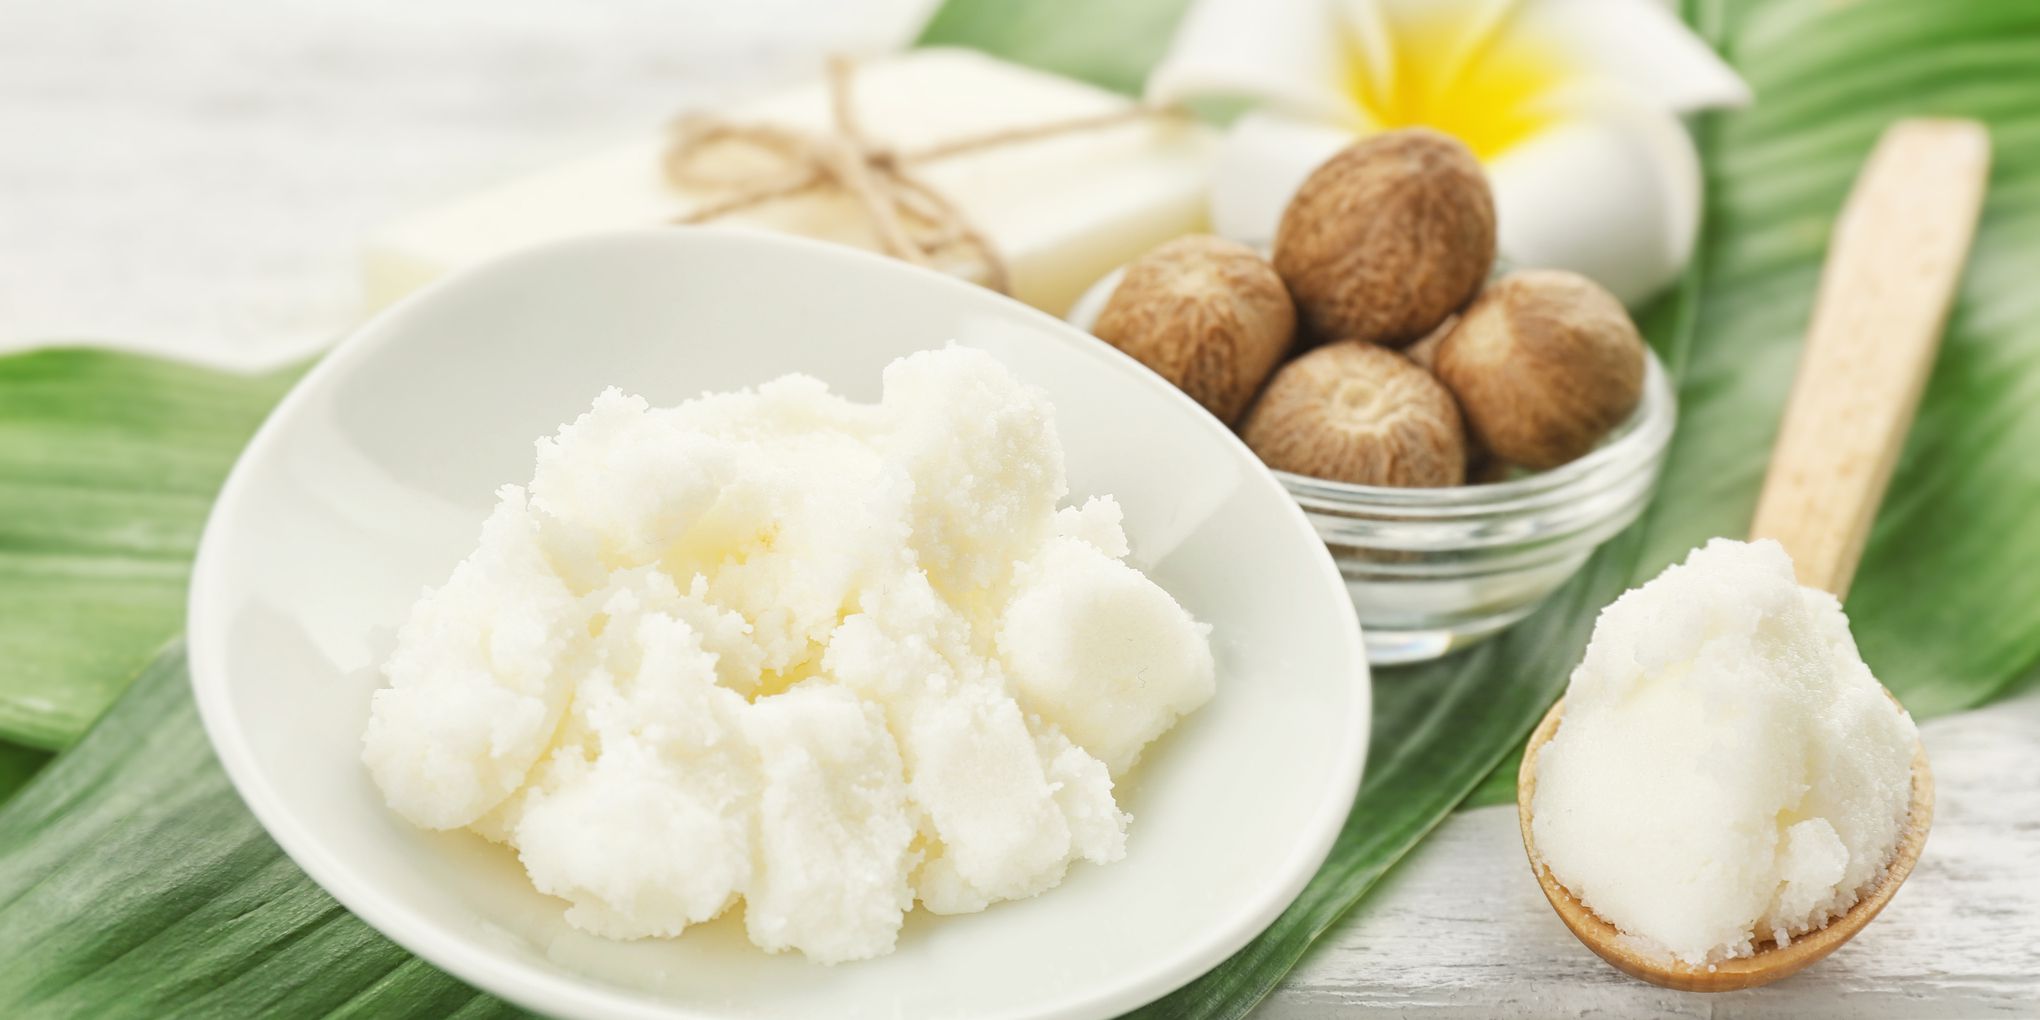
Raw Shea Nuts: Start with approximately 1 pound of raw shea nuts. These can be easily purchased from local markets or online suppliers, ensuring you have a good quality base for your homemade shea butter.
-
Grinder or Food Processor: You will need a reliable grinder or food processor to crush the shea nuts into smaller pieces. This will help in the extraction process and allow you to obtain the desired consistency for your shea butter.
-
Cheesecloth or Nut Milk Bag: To strain the shea butter, you will require a cheesecloth or nut milk bag. These can be found in most kitchen supply stores or online.
-
Double Boiler or Stainless Steel Pot: A double boiler or a stainless steel pot will be needed for the melting process. Ensure it is heat resistant and of appropriate size to hold the shea nuts comfortably.
-
Glass Jar or Container: Finally, you will need a glass jar or container to store your homemade shea butter. Make sure it is clean, dry, and preferably airtight to preserve the butter's freshness.
Now, let's dive into the step-by-step process of making shea butter:
Step 1: Clean and Separate the Shea Nuts
Begin by thoroughly washing the shea nuts to remove any dirt or impurities. Once cleaned, crack the nuts open using a nutcracker or pestle, and separate the kernels from the shells. Discard the shells and collect the kernels in a clean bowl.
Step 2: Crush the Kernels
Using a grinder or food processor, crush the shea kernels into smaller pieces. This will make it easier to extract the butter.
Step 3: Roast the Crushed Kernels
Spread the crushed kernels evenly on a baking tray and roast them at a low temperature (around 175°F) for approximately 20-30 minutes. Roasting enhances the aroma and helps release the oils from the kernels.
Step 4: Grind the Roasted Kernels
Once the crushed kernels have cooled down, grind them into a fine powder using a grinder or food processor. This process will further break down the kernels and facilitate the extraction of the shea butter.
Step 5: Extract the Shea Butter
Transfer the ground kernel powder into your double boiler or stainless steel pot. Heat the pot over low heat, gently stirring the contents to prevent scorching. As the powder melts, the shea butter will separate from the rest of the material, forming a golden-colored liquid.
Step 6: Strain and Cool
Once the shea butter has completely melted, remove it from the heat. Allow it to cool for a few minutes before pouring it into a clean glass jar or container lined with a cheesecloth or nut milk bag. Strain the liquid to remove any remaining impurities.
Step 7: Solidify and Store
Leave the jar of strained shea butter undisturbed for several hours or overnight, allowing it to solidify. Once solid, your shea butter will be ready to use. Seal the jar tightly and store it in a cool, dry place away from direct sunlight.
Congratulations! You have successfully made your own shea butter. This homemade skincare product can now be incorporated into your daily beauty routine or used as a thoughtful, homemade gift for your loved ones.
Remember, shea butter is a natural product, and its consistency may vary depending on factors such as temperature and time of the year. Experiment with different quantities and extraction techniques until you find the perfect formula for your needs.
Enjoy the nourishing benefits of your homemade shea butter and revel in the knowledge that you have created a beauty product that is both natural and beneficial for your skin and hair.

 Admin
Admin 