How To Guide: Making Chocolate from Cocoa
Introduction:
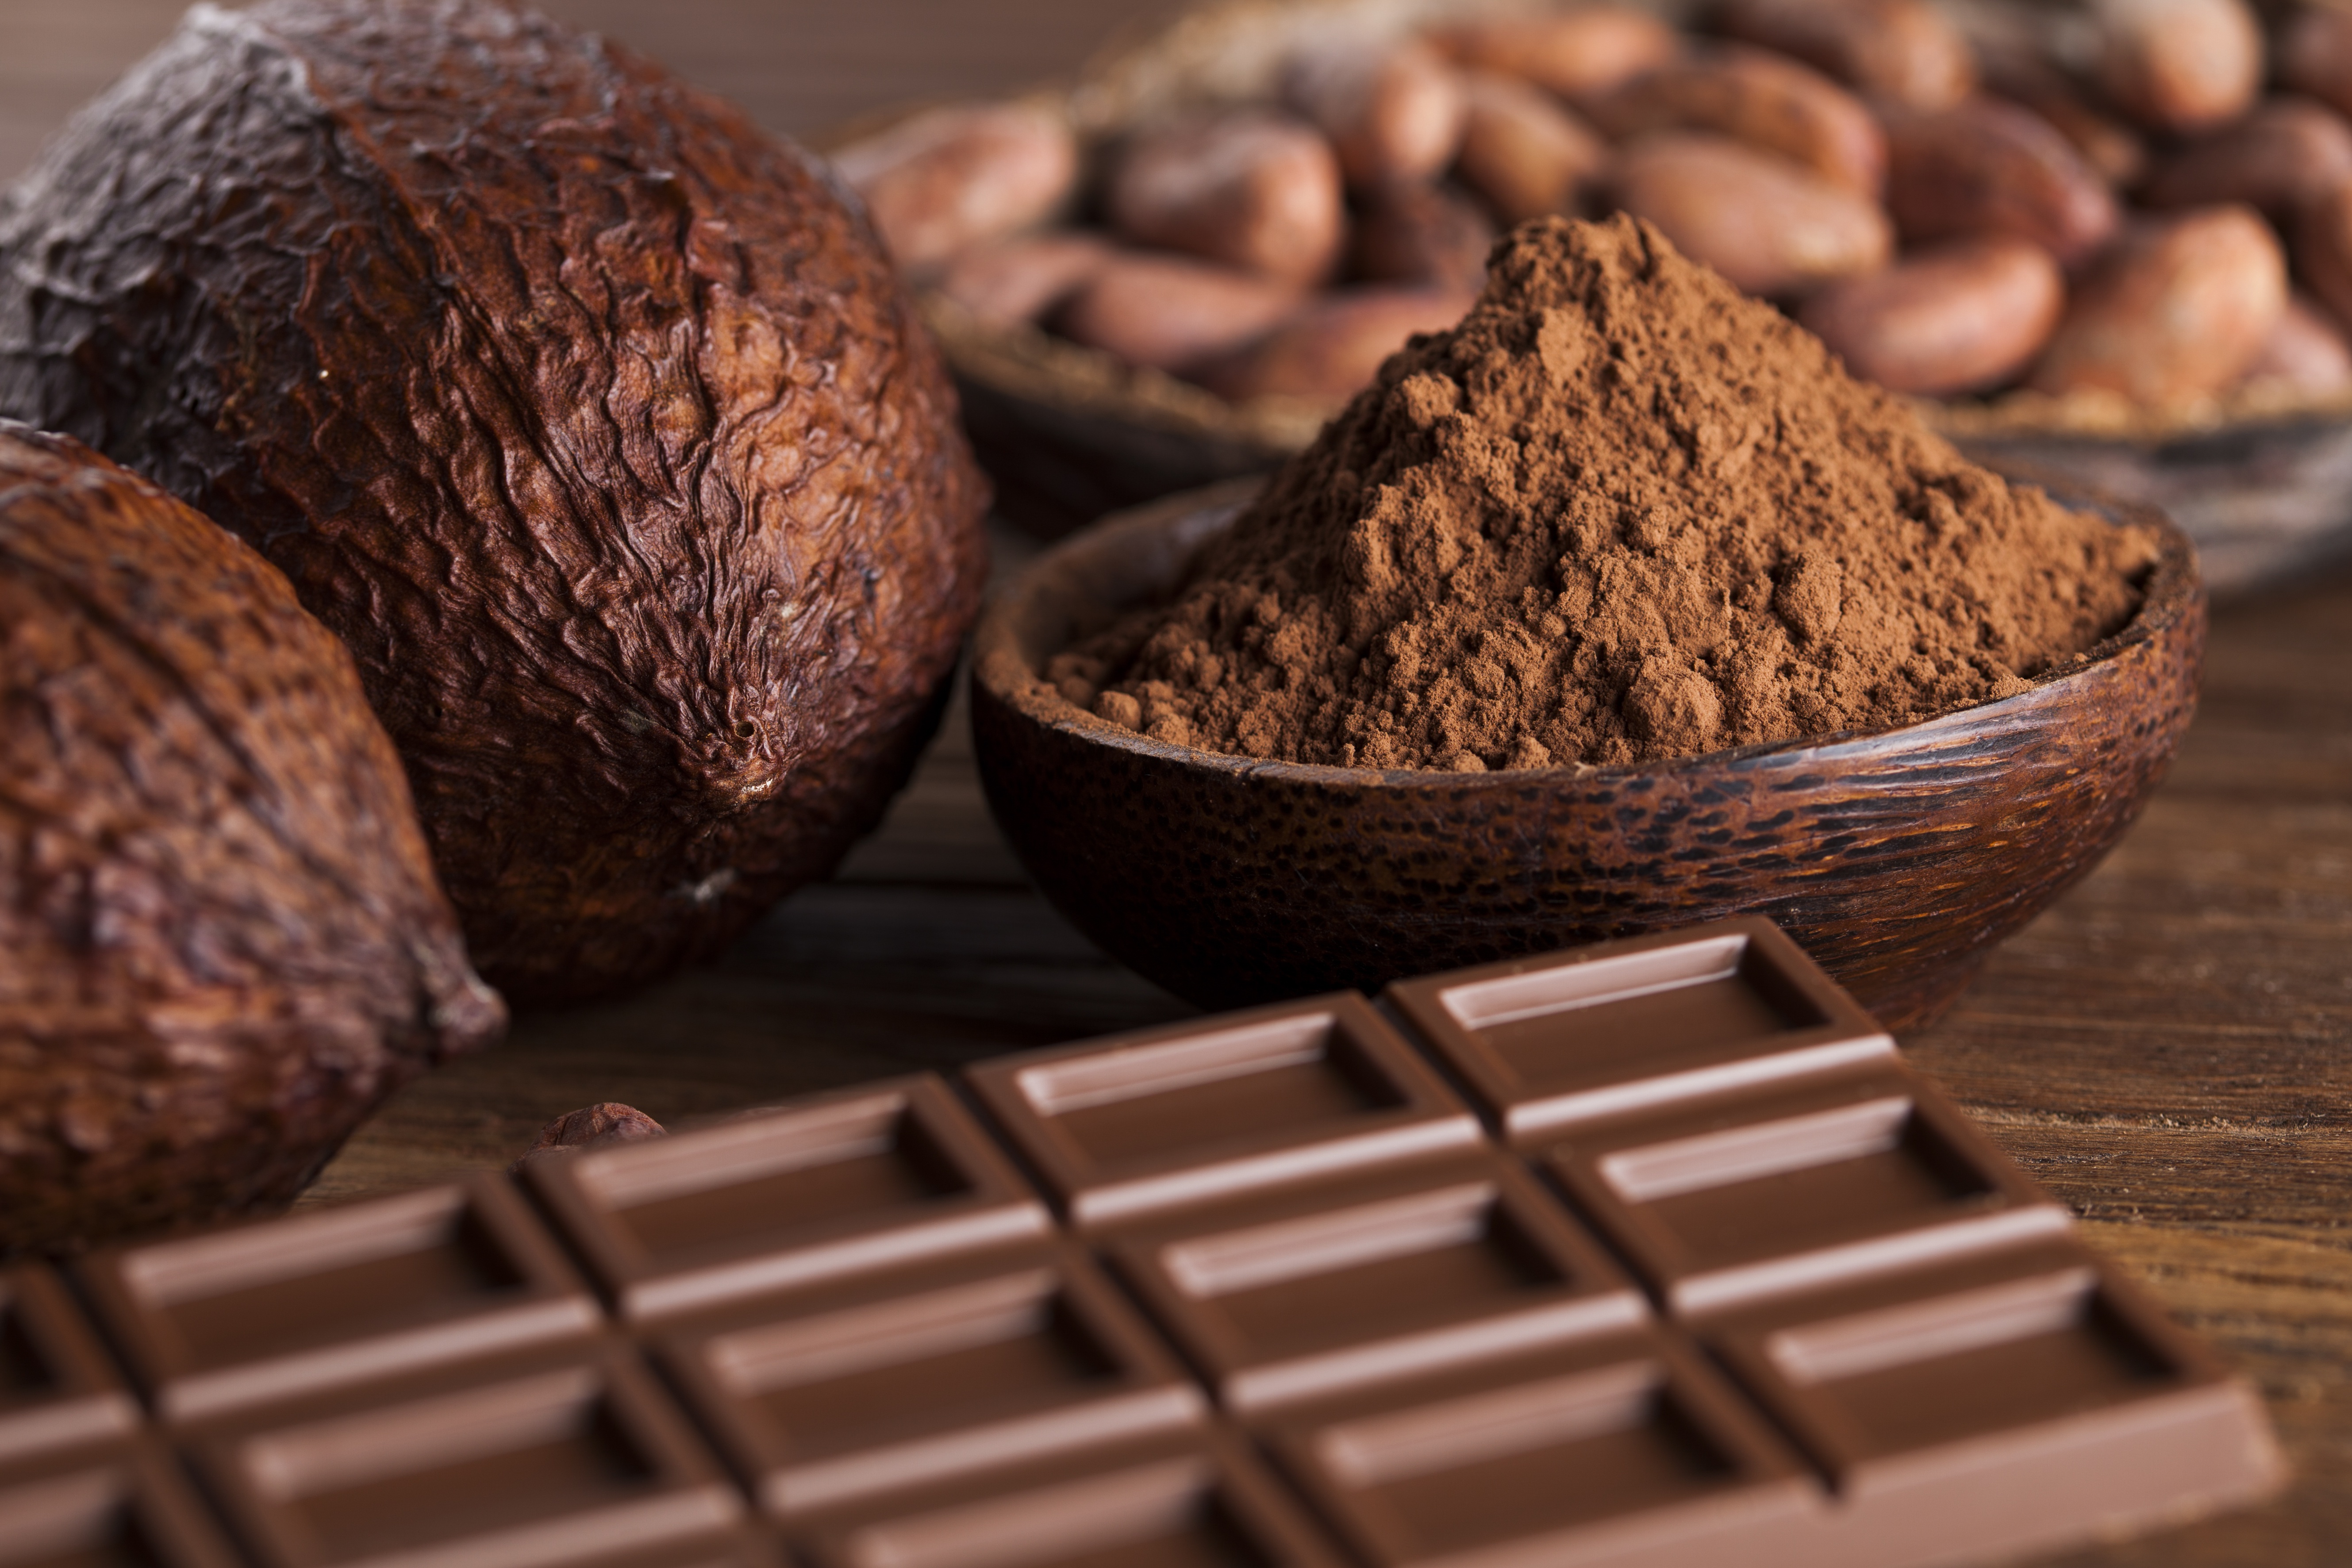
Making your own chocolate from scratch can be a rewarding and delicious experience. By starting with cocoa beans, you have full control over the flavors and ingredients, ensuring a truly personalized treat. In this guide, I will take you through the step-by-step process of turning cocoa beans into mouth-watering chocolate.
Materials Needed:
- Raw cocoa beans
- Roasting pan
- Grinder or food processor
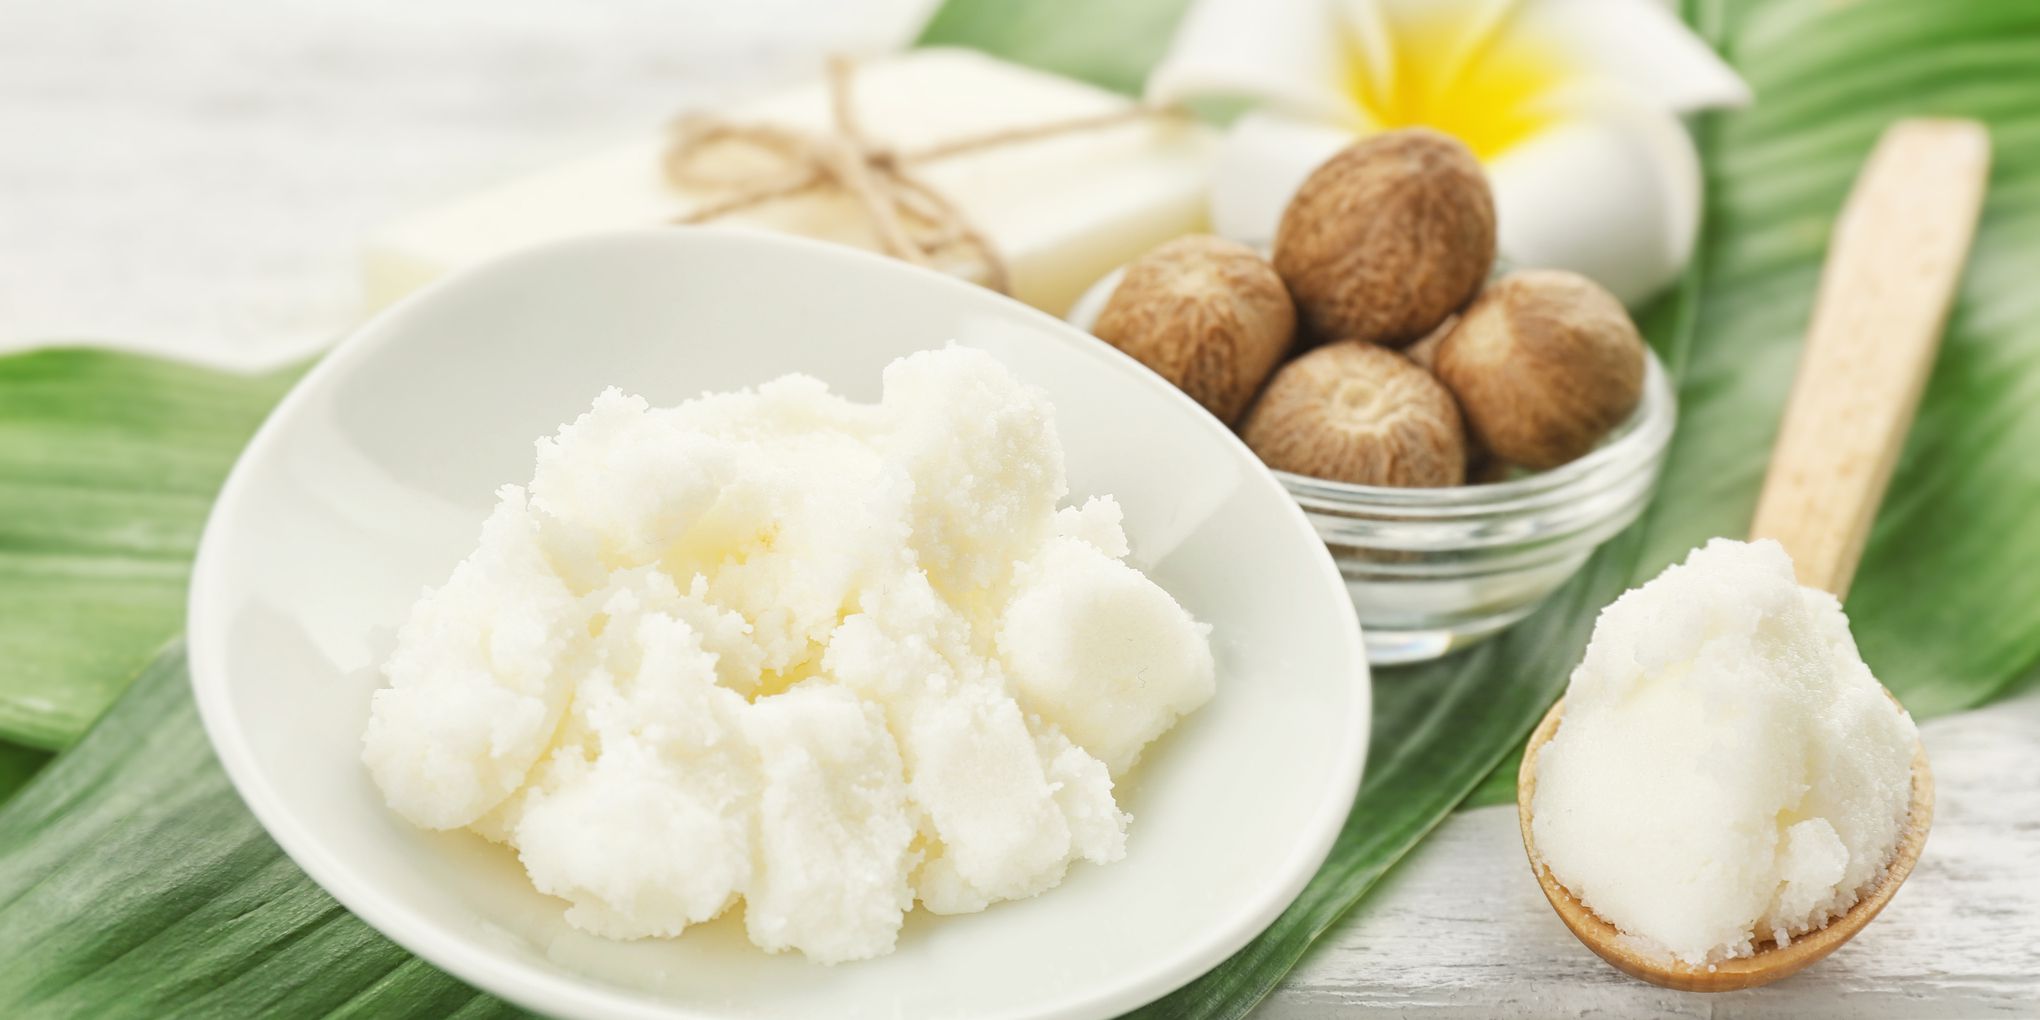
- Cocoa butter (optional)
- Sweetener of choice (e.g., sugar, honey)
- Flavorings (e.g., vanilla extract, nuts, dried fruit)
- Chocolate molds or baking dish
- Chocolate tempering machine (optional)
- Wax paper or parchment paper
Step 1: Roasting the Beans
- Preheat your oven to 250°F (120°C).
- Spread the raw cocoa beans evenly on a roasting pan.
- Place the pan in the preheated oven and roast for approximately 15-20 minutes.
- Keep an eye on the beans and stir occasionally to ensure even roasting.
- Remove the beans from the oven when they have a glossy appearance and a rich, chocolatey aroma.
Step 2: Grinding the Beans
- Allow the roasted cocoa beans to cool completely.
- Transfer the beans to a grinder or food processor.
- Grind the beans until they turn into a coarse powder.
- If desired, add cocoa butter to the grinder to enhance the smoothness and creaminess of the chocolate.
- Continue grinding until the cocoa beans have transformed into a smooth, consistent texture resembling chocolate liquor.
Step 3: Sweetening and Flavoring
- In a separate bowl, measure your preferred sweetener.
- Add the sweetener to the ground cocoa beans gradually, tasting as you go, until you achieve the desired level of sweetness.
- Incorporate additional flavorings, such as vanilla extract, nuts, or dried fruit, to create a unique chocolate experience.
- Mix all the ingredients thoroughly until well combined.
Step 4: Tempering the Chocolate (optional)
- Tempering chocolate enhances its texture, shine, and stability.
- If you have a tempering machine, follow the manufacturer's instructions for tempering the chocolate.
- If you do not have a tempering machine, you can temper the chocolate manually by heating and cooling it to specific temperatures. This process can be more complex and time-consuming.
Step 5: Molding and Setting
- Prepare your chocolate molds or line a baking dish with wax paper or parchment paper.
- Pour the melted, tempered chocolate into the molds or spread it evenly in the lined dish.
- Tap the molds gently on a solid surface to remove any air bubbles.
- Place the molds or dish in the refrigerator or a cool, dry place to allow the chocolate to set.
- The setting time varies depending on the chocolate and temperature but can range from 1-2 hours.
Step 6: Enjoying Your Homemade Chocolate
- Once the chocolate has fully set, carefully remove it from the molds or cut it into desired shapes from the baking dish.
- Store your homemade chocolate in an airtight container in a cool, dry place.
- Indulge in the deliciousness of your very own homemade chocolate, savoring the flavors and textures you have created.
Conclusion:
Making your own chocolate from cocoa beans allows you to customize every aspect, resulting in a truly personalized sweet treat. With patience, practice, and experimentation, you can develop your own unique chocolate recipes. So, put on your apron, gather your ingredients, and embark on a delightful journey into the world of homemade chocolate!


 Admin
Admin 


