How To Guide: Modus Operandi of Apricot Jam Love
Introduction:
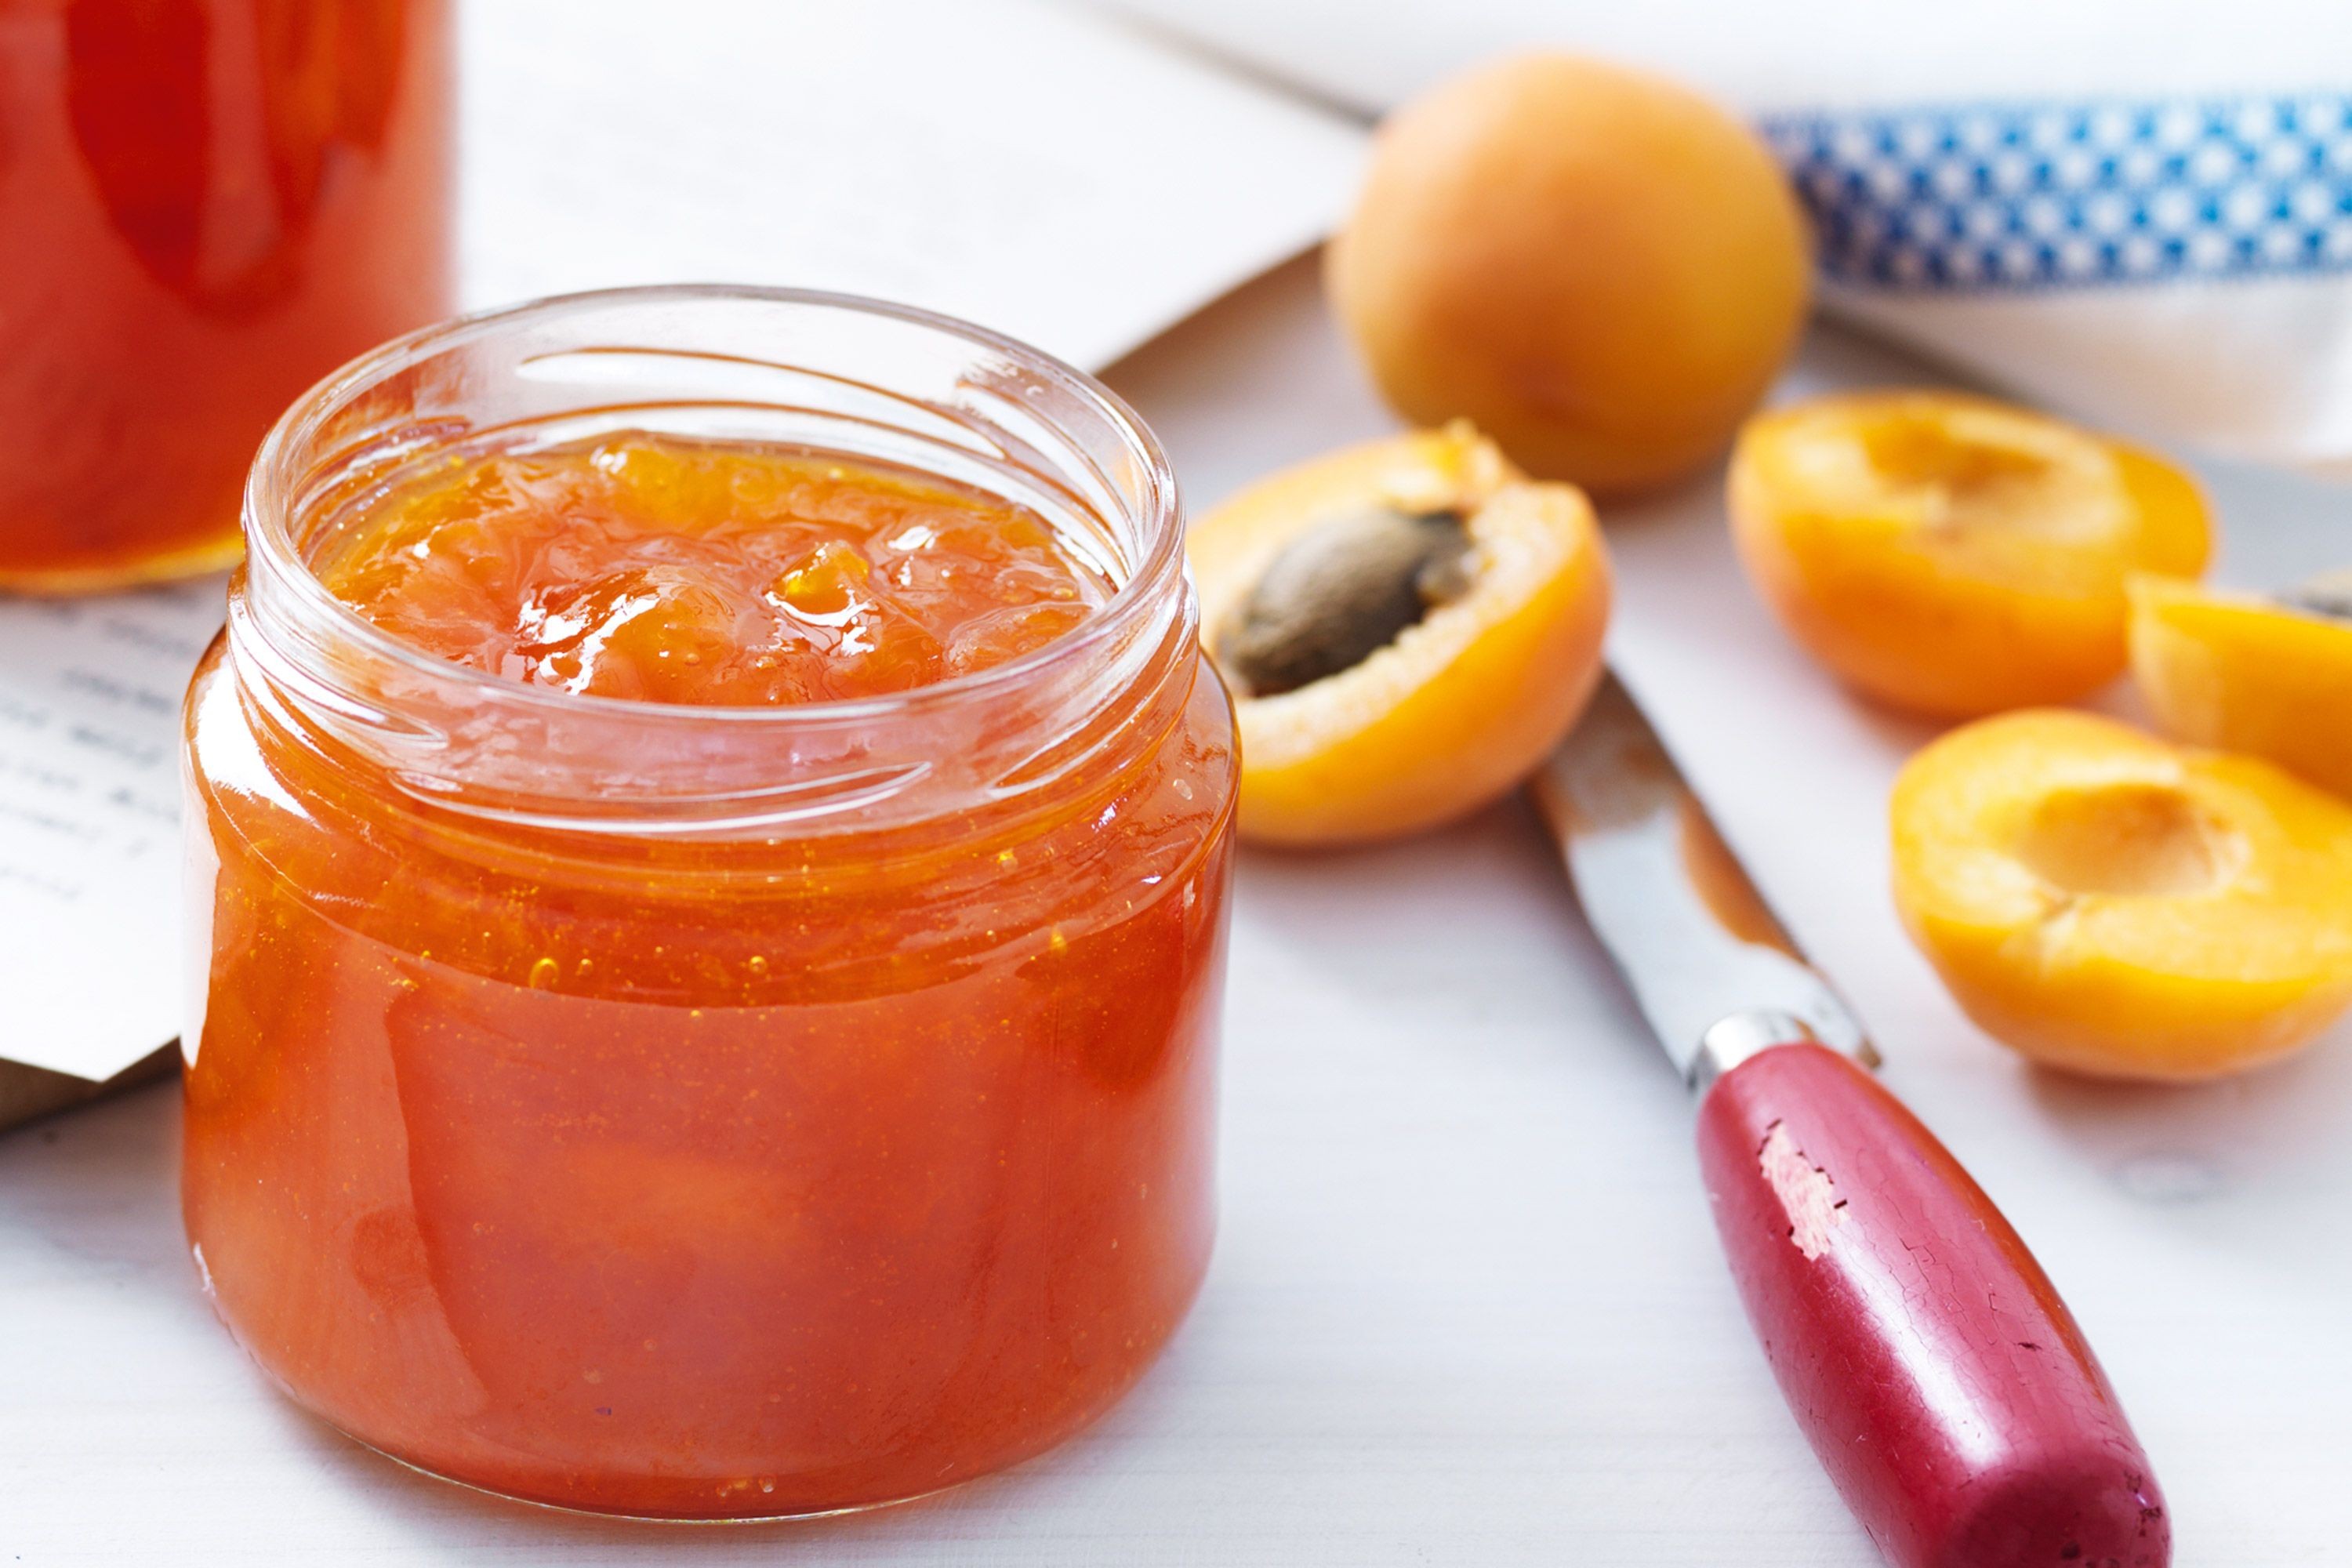
Welcome to the Modus Operandi of Apricot Jam Love! This guide is designed to provide you with a step-by-step approach to exploring the wonderful world of making and enjoying apricot jam. Whether you're a beginner or an experienced cook, this guide will equip you with the skills and knowledge needed to create a delicious jar of homemade apricot jam that will delight your taste buds and impress your loved ones.
Step 1: Gathering the Ingredients
To start your apricot jam love affair, you'll need to gather the necessary ingredients. Here's what you'll need:
- 2 pounds of ripe apricots
- 2 cups of granulated sugar
- 1/4 cup of lemon juice
- 1 teaspoon of vanilla extract (optional)
Step 2: Preparing the Apricots
Once you have your apricots, wash them thoroughly and remove any stems or leaves. Cut the apricots in half and remove the pits. You can also choose to dice the apricots if you prefer a chunkier texture in your jam.
Step 3: Cooking the Apricots
Place the apricots in a large pot along with the sugar, lemon juice, and vanilla extract (if using). Stir well to combine all the ingredients. Let the mixture sit for about 30 minutes to allow the apricots to macerate and release their natural juices. Then, place the pot over medium heat and bring it to a gentle boil.
Step 4: Skimming and Simmering
While the mixture is coming to a boil, you may notice foam or scum forming on the surface. Use a spoon or a skimmer to remove this foam and discard it. Reduce the heat to low and let the jam simmer for about 30-40 minutes, stirring occasionally to prevent sticking.
Step 5: Testing for Doneness
To determine if your apricot jam is ready, you can use the "plate test." Take a small plate and place it in the freezer for a few minutes. Spoon a small amount of the jam onto the cold plate and let it cool for a few seconds. If the jam wrinkles when you push it with your finger, it's done. If not, continue cooking and test again after a few minutes.
Step 6: Canning and Storing
Once your apricot jam reaches the desired consistency, it's time to can and store it. Sterilize your jars and lids by boiling them in a large pot of water for about 10 minutes. Carefully fill the jars with the hot jam, leaving a 1/4-inch headspace at the top. Wipe the rims clean, seal the jars tightly, and process them in a boiling water bath for the recommended time based on your altitude.
Step 7: Enjoying Apricot Jam Love
Congratulations! You've successfully made apricot jam. Allow the jars to cool completely before storing them in a cool, dark place. Your apricot jam can be enjoyed on toast, scones, muffins, or as part of a delicious dessert. Savor every spoonful of your homemade creation and share the love with friends and family.
Conclusion:
The Modus Operandi of Apricot Jam Love is a rewarding and satisfying journey. By following this guide, you can create a delectable apricot jam that captures the essence of the fruit. Experiment with different flavors and techniques to make your own unique variations. Have fun exploring the art of apricot jam making and embrace the joy it brings to your culinary adventures. Happy jamming!


 Admin
Admin 


