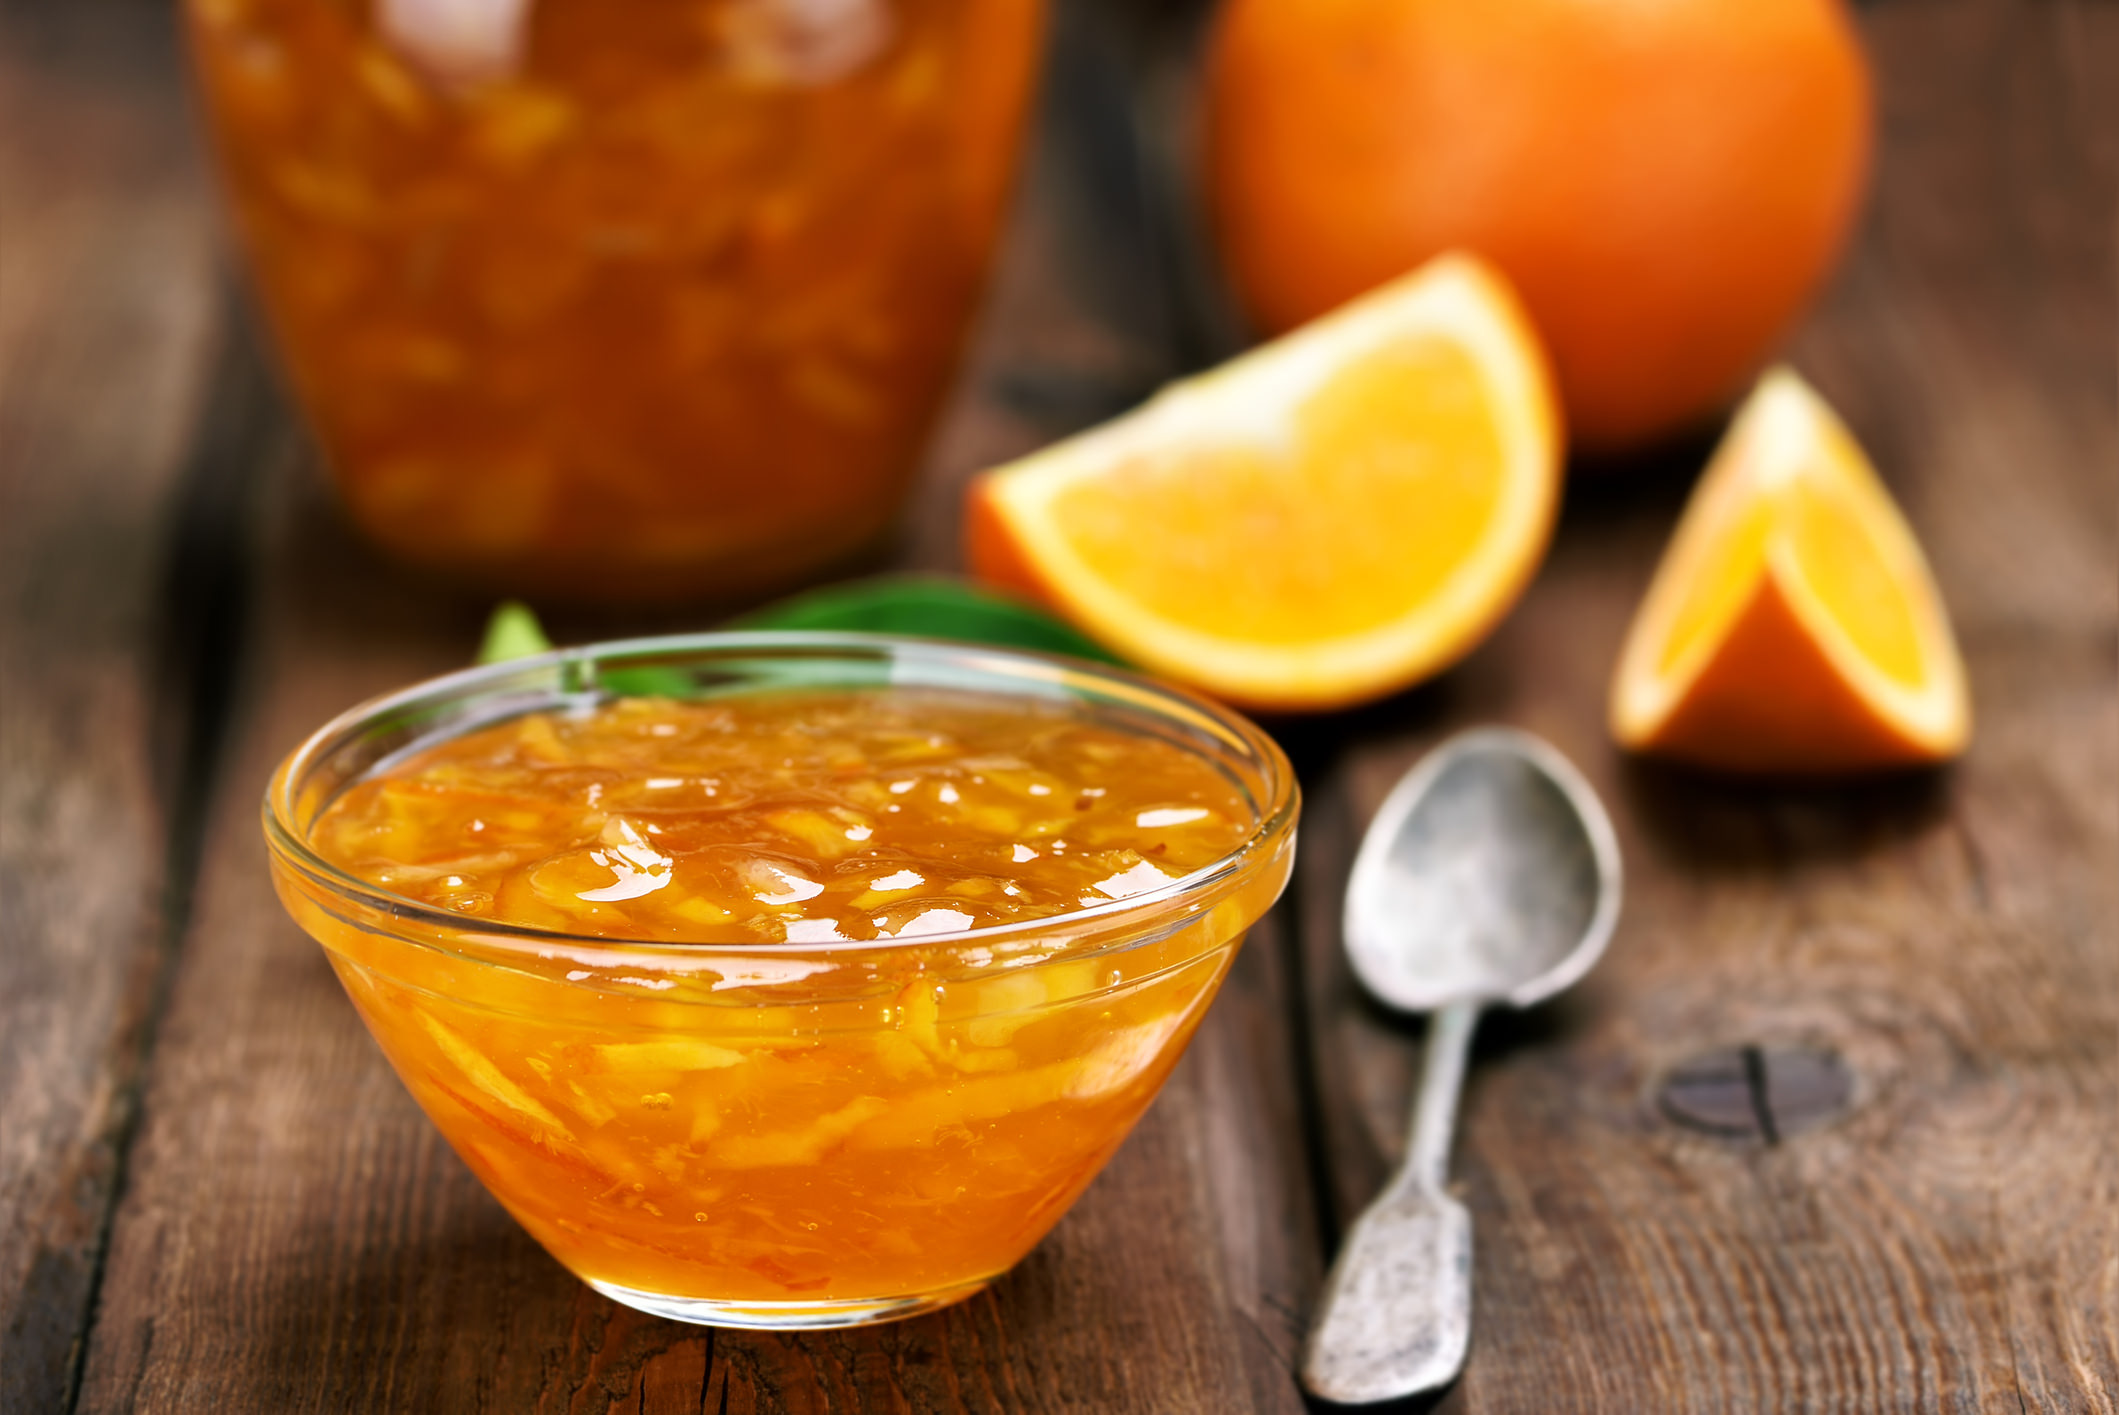
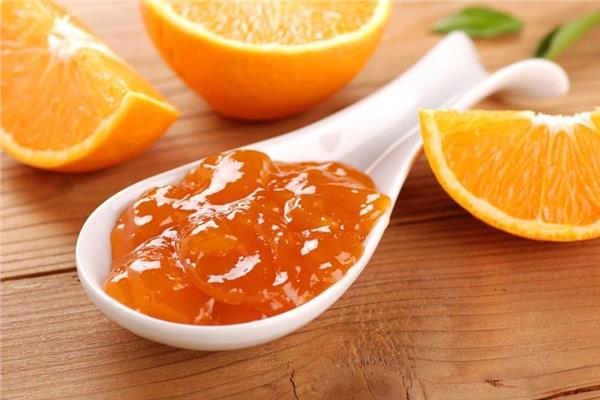
Orange Jam Manufacturing and Filling: A Profitable Food Production Opportunity for Food Factories
Orange jam is one of the most stable-demand food products and among the easiest to market both locally and internationally. It is a clear example of how an abundant, relatively low-cost agricultural crop can be transformed into a high-value industrial product with stable profit margins.
Manufacturing orange jam in factories according to industrial standards gives food manufacturers a real opportunity to build a profitable, fast-moving, and scalable production line without excessive operational complexity.
Oranges are available in large quantities over long seasons, and processing them into jam converts agricultural abundance into sustainable industrial value that supports sales growth and stable cash flow.
Why Is Orange Jam a Profitable Food Production Opportunity?
Oranges are among the most widely consumed fruits worldwide and are enjoyed by all age groups. However, selling fresh oranges is limited by perishability and price fluctuations. Industrial processing completely solves this challenge.
Key reasons behind the profitability of orange jam:
-
Stable year-round demand
-
Relatively low raw material cost
-
Easy storage and transportation
-
Multiple sales channels
-
Suitable for export at competitive prices
These factors make orange jam a core product in any food production diversification strategy.
What Is Orange Jam and How Is It Manufactured Industrially?
Orange jam is a food product made from oranges after washing, peeling, processing the peels, and cooking the pulp with precisely calculated sugar ratios to achieve a firm texture and a balanced sweet–tangy flavor.
Industrial manufacturing relies on:
-
Precise temperature control
-
Accurate concentration and solids ratios
-
Consistent texture and color
-
Preservation of natural flavor
-
Compliance with food safety standards
Using industrial production lines ensures consistent quality across every production batch.
Orange Jam Production Line Specifications in Factories
An orange jam production line consists of integrated equipment that can be designed for small, medium, or large production capacities depending on factory requirements.
Main components of the production line:
-
Orange washing and sorting machines
-
Peeling, cutting, and peel-processing machines
-
Fruit grinding and pulp preparation machines
-
Industrial cooking kettles with heating and mixing systems
-
Holding and conditioning tanks
-
Filling and packaging machines
All equipment must be manufactured from food-grade stainless steel to ensure safety, hygiene, and ease of cleaning and maintenance.
Operating Stages Inside an Orange Jam Factory
The process begins with receiving and carefully sorting oranges to ensure fruit quality. After washing, the oranges are peeled, cut, and the peels are processed to reduce bitterness according to the approved recipe.
The pulp then moves to the cooking stage in industrial kettles, where sugar is added and temperature and cooking time are precisely controlled to reach the required consistency and concentration while maintaining natural color.
After cooking, the product is cooled and transferred to filling tanks in preparation for accurate filling and packaging using precision filling machines.
Suitable Filling and Packaging Machines for Orange Jam
Orange jam is a semi-viscous product and may contain peel slices, which requires selecting filling machines suitable for this texture.
Suitable filling machine options include:
-
Viscous liquid filling machines
-
Semi-viscous filling machines with pieces
-
Semi-automatic filling machines for glass jars
-
Fully automatic filling and packaging machines for medium and large production lines
Choosing the right filling and packaging machine reduces waste, increases production line efficiency, and enhances the final product appearance.
Comparison Tables for Production Capacities and Equipment Options
Production Capacity Comparison
| Production Capacity | Factory Size | Investment Cost | Product Turnover Speed |
|---|---|---|---|
| 300 kg per day | Small | Low | Fast |
| 1 ton per day | Medium | Medium | Strong |
| 3 tons per day | Large | High | Very Strong |
Filling Machine Options
| Machine Type | Automation Level | Suitable For |
|---|---|---|
| Manual machine | Low | Limited production |
| Semi-automatic machine | Medium | Start-up factories |
| Automatic machine | High | Commercial production factories |
Orange Jam Market Study
The orange jam market is one of the most stable jam markets, with widespread demand across:
-
Local retail markets
-
Supermarket chains
-
Bakeries and confectionery factories
-
Restaurants and hotels
-
Arab and African export markets
Continuous demand allows factories to achieve regular sales and gradually expand market share.
Cost, Profitability, and Return on Investment
Project costs typically include:
-
Production line equipment costs
-
Filling and packaging machine costs
-
Raw orange costs
-
Operating and energy expenses
On average, an orange jam factory can achieve a net profit margin between 30% and 45%. With fast product turnover and stable demand, capital recovery is usually possible within 12 to 18 months.
Industrial Tips to Increase Profitability and Product Quality
-
Take advantage of peak orange seasons to reduce raw material costs
-
Precisely control peel processing to balance flavor
-
Use attractive packaging that reflects product quality
-
Start with flexible capacity that allows future expansion
-
Reduce waste by using high-precision filling machines
Why Choose Production Lines and Machines from Smart Pack?
The success of an orange jam project depends heavily on equipment quality and system integration. Smart Pack provides integrated solutions in food production and packaging, including:
-
Custom production line design based on capacity and space
-
Filling machines for viscous and semi-viscous products
-
Technical support and after-sales service
-
Flexible solutions for future expansion
Relying on a trusted industrial partner reduces operational risks and ensures consistent product quality.
Frequently Asked Questions
Is orange jam suitable for export?
Yes, orange jam is suitable for export due to its long shelf life and stable quality.
Can production start with a small line?
Yes, factories can start with a semi-automatic line and expand later based on demand.
What is the best filling machine for orange jam?
Viscous or semi-viscous filling machines with piece-handling capability are ideal.
What is the most important factor for project success?
Raw material quality, manufacturing precision, and choosing the right filling equipment.
Is orange jam a fast-moving product?
Yes, it is one of the most widely consumed and stable jam products in the market.
If you are looking for a reliable, high-demand food product that is easy to manufacture and capable of generating stable profits, industrial orange jam manufacturing and filling represents a highly profitable production opportunity for your factory.
Start building a professional production line today, invest in high-quality filling and packaging machines, and turn an economical agricultural crop into a competitive product for local and export markets.
Contact Smart Pack now for a technical consultation and a customized production line design that delivers the best possible return on investment.


 Admin
Admin 


