How to Make Delicious Lemon Jam
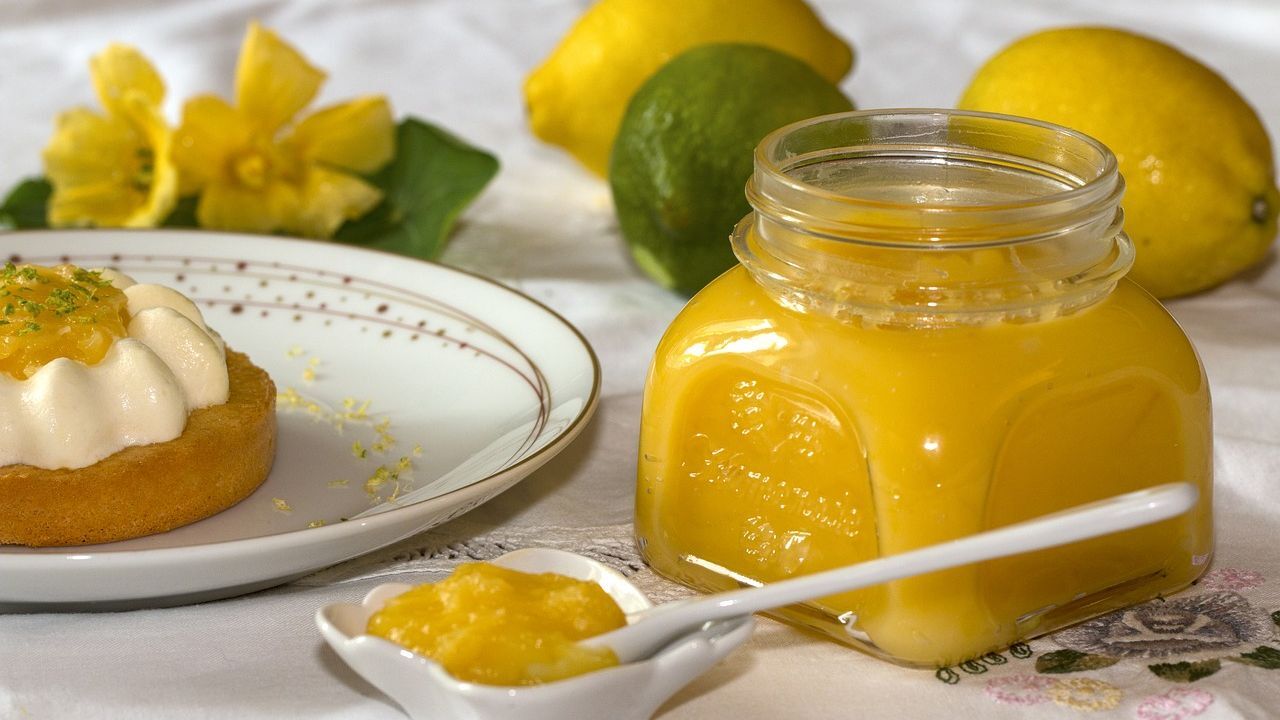
Have you ever tasted homemade lemon jam? Bursting with tangy flavor and a delightful balance of sweetness, lemon jam is a versatile spread that can elevate your breakfast or dessert to a whole new level. Fortunately, making this delectable treat is easier than you might think. So, grab your apron and let's dive into the step-by-step process of creating your very own batch of lemon jam.
Ingredients:
- 6 large lemons
- 4 cups sugar
- 1 cup water
Equipment needed:
- Cutting board and knife
- Large pot
- Wooden spoon
- Sterilized glass jars with lids
Step 1: Preparation
- Thoroughly wash the lemons with cold water to remove any dirt or residue.
- Zest all the lemons using a grater or a zester. Make sure to remove only the yellow part, as the white pith can add bitterness to your jam.
- Once you have zested the lemons, cut them in half and squeeze out the juice. Strain the juice to remove any seeds or pulp. Set aside both the zest and juice for later use.
Step 2: Cooking
- In a large pot, combine the lemon zest, lemon juice, sugar, and water.
- Place the pot over medium heat and stir continuously until the sugar has dissolved completely.
- Increase the heat to bring the mixture to a boil. Once it has reached a rolling boil, reduce the heat to low and let it simmer for about 30-40 minutes, stirring occasionally.
- As the mixture cooks, you will notice it thickening and transforming into a luscious jam-like consistency. Keep an eye on it to prevent burning and adjust the heat if necessary.
Step 3: Testing and bottling
- To check if your jam has reached the desired consistency, place a small amount on a chilled plate. Let it cool for a minute, then run your finger through it. If the jam wrinkles and holds its shape, it is ready. If not, continue simmering for a few more minutes and test again.
- Once the jam has reached the desired consistency, remove it from the heat and allow it to cool for a few minutes.
- While the jam is still warm, carefully pour it into sterilized glass jars, leaving about 1/4 inch of headspace.
- Seal the jars tightly with the lids and allow them to cool completely at room temperature.
- Once cooled, label the jars with the date and store them in a cool, dark place. The jam can be kept for several months, although it is so delicious that it's likely to be finished much sooner!
Tips and variations:
- For a more intense lemon flavor, you can add an extra tablespoon or two of lemon zest.
- If you prefer a smoother consistency without zest, strain the jam through a fine mesh sieve before bottling.
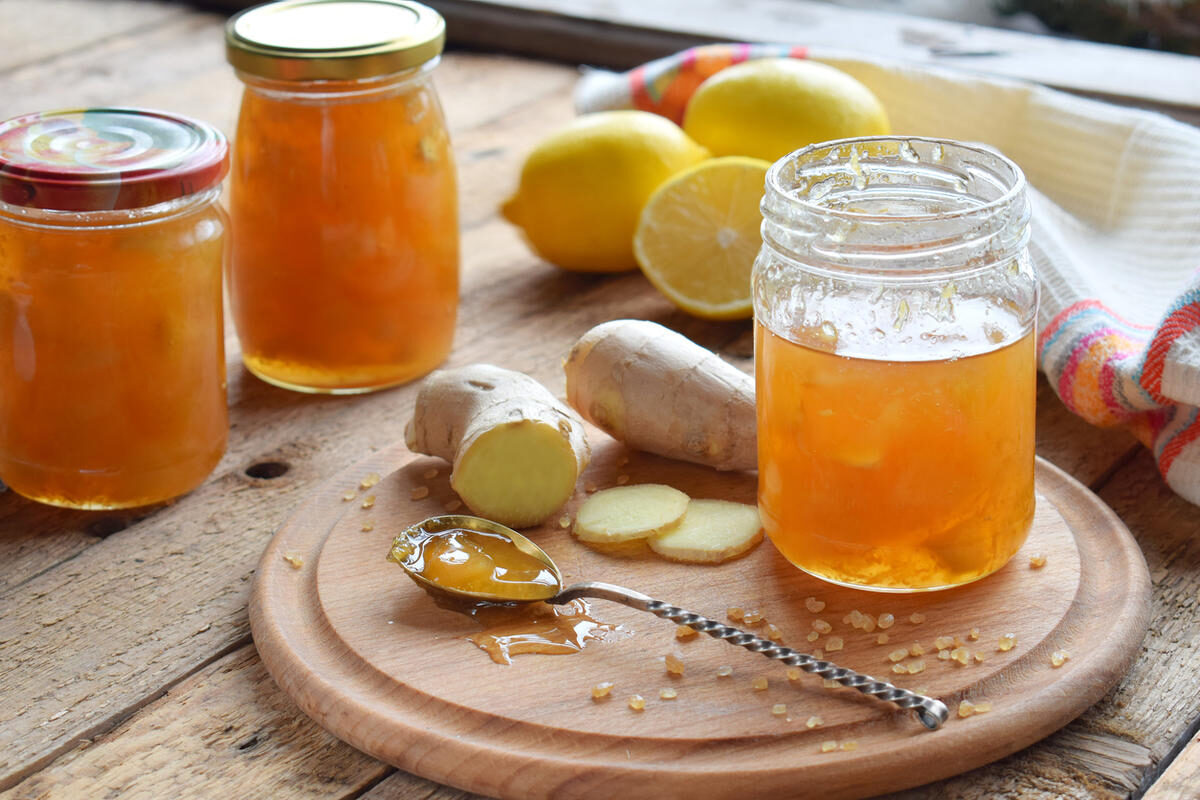
- Experiment with different herbs or spices like thyme, lavender, or ginger to add a unique twist to your lemon jam.
Now that you know how to create your own homemade lemon jam, embrace your creativity and explore the endless possibilities. Spread it on toast, swirl it into yogurt, or pair it with scones for an unforgettable treat that will brighten up your day!


 Admin
Admin 


