Title: How to Guide: Automatic Line for the Production of Arabic Bread (4 Loaves)
Introduction:
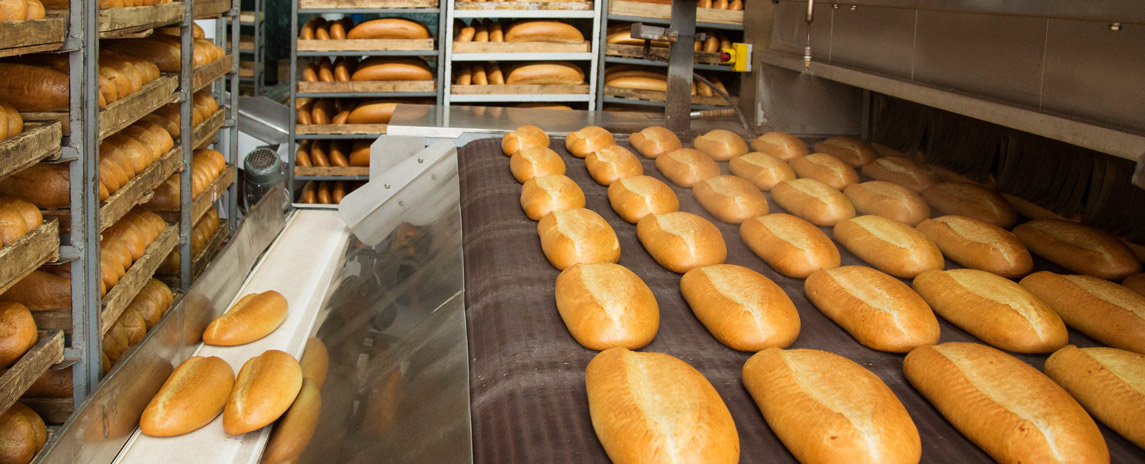
Welcome to our step-by-step guide on setting up and operating an automatic production line for Arabic bread. This guide aims to assist you in understanding the process of producing traditional Arabic bread using an automated system. With this setup, you can efficiently produce four loaves of delicious Arabic bread in no time.
Requirements:
To begin, ensure that you have the following equipment and ingredients ready:
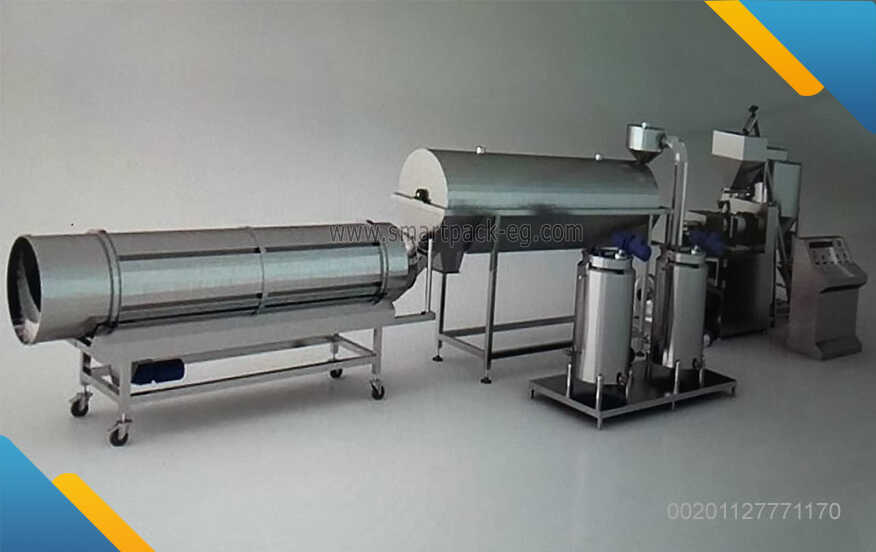
- Automatic production line (consisting of a dough mixer, dough divider, dough rounder, and dough proofer)
- Arabic bread recipe ingredients (typically flour, water, yeast, salt)
- Measuring equipment (scales, measuring cups, spoons)
- Baking sheets or trays
- Oven
Step 1: Preparing the Dough
- Firstly, measure and combine the required amount of flour, water, yeast, and salt according to your chosen recipe.
- Place the ingredients in the dough mixer and activate it to knead the dough consistently until it reaches the desired consistency.
- Make sure to follow proper safety guidelines while operating the mixer.
Step 2: Dividing the Dough
- Once the dough is properly kneaded, transfer it to the dough divider.
- Adjust the settings on the machine to divide the dough into four equal portions.
- The dough divider will cut and shape the dough into individual portions with precision.
Step 3: Rounding the Dough
- Move the divided portions to the dough rounder.
- The machine will round up the divided dough portions into smooth balls.
- Pay attention to adjust machine settings as per your desired dough size and tightness.
Step 4: Proofing the Dough
- Transfer the rounded dough portions onto baking sheets or trays.
- Place them inside the dough proofer, set it to the appropriate temperature and humidity levels for Arabic bread.
- Allow the dough portions to proof for the recommended duration, ensuring they rise properly.
Step 5: Baking the Bread
- Preheat your oven to the recommended temperature for baking Arabic bread.
- Carefully transfer the proofed dough portions onto baking sheets or trays lined with parchment paper.
- Arrange them inside the oven and bake for the required time, ensuring they achieve a golden brown color and a fluffy texture.
Step 6: Cooling and Packaging
- Once fully baked, remove the freshly baked Arabic bread from the oven and let it cool on wire racks.
- Once cooled, pack the Arabic bread in suitable food-grade packaging or wrap them in clean, food-safe paper.
Conclusion:
By following this step-by-step guide, you can efficiently produce four loaves of traditional Arabic bread using an automatic production line. Remember to carefully operate each machine component, implement safety precautions, and monitor the dough throughout the process to ensure consistent and high-quality results. Enjoy serving your homemade Arabic bread, which will surely delight your family, guests, or customers.

 Admin
Admin 