How To Guide: Sterilizing Surfaces with Chlorine, Disinfectants, and Sterilizers to Prevent Contamination
Introduction:
Sterilizing surfaces is essential to prevent the spread of harmful bacteria, viruses, and other microorganisms. One effective method used for sterilization is the use of chlorine, disinfectants, and sterilizers. In this step-by-step guide, you will learn how to properly sterilize surfaces using these substances to ensure a clean and safe environment.
Materials Needed:
- Chlorine solution or bleach (containing 5-6% sodium hypochlorite)
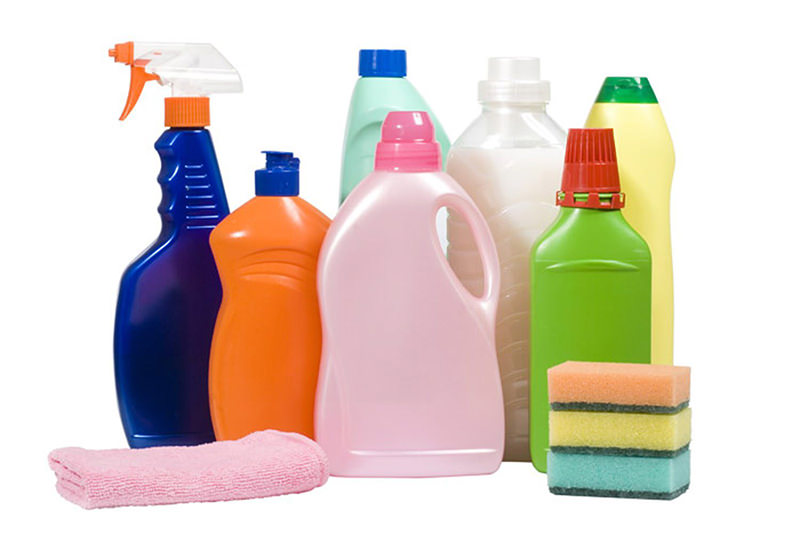
- Disinfectant spray or wipes
- Sterilizing agents or sterilizing solution (such as hydrogen peroxide or alcohol-based disinfectants)
- Personal protective equipment (PPE) - gloves, mask, and goggles
- Clean cloth or paper towels
- Water
Step 1: Prepare the Area
Before beginning the sterilization process, ensure the area is clear of any clutter or debris. Remove any objects or items that are not necessary in the space you are about to sterilize.
Step 2: Wear Personal Protective Equipment (PPE)
Put on gloves, a mask, and goggles to protect yourself from any potential hazards during the sterilization process. It is crucial to follow safety protocols and guidelines to prevent any contact with harmful substances.
Step 3: Cleansing with Chlorine Solution
Dilute the chlorine solution or bleach with water in a ratio of 1:100 (for example, 1 cup of bleach mixed with 100 cups of water). Pour the solution into a spray bottle or use disposable wipes soaked in the solution.
Step 4: Application of Chlorine Solution
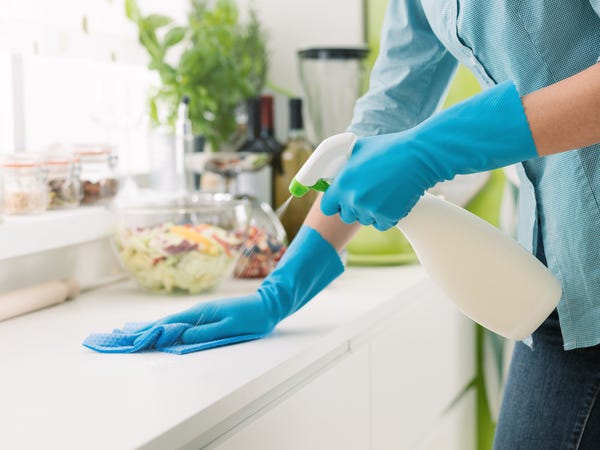
Spray the diluted chlorine solution onto the surfaces you wish to sterilize. Focus on high-touch areas such as doorknobs, light switches, countertops, and appliances. Allow the solution to sit on the surface for at least one minute to effectively kill any microbes.
Step 5: Wipe or Rinse with Water
After the designated contact time, use a clean cloth or disposable paper towels to wipe the surfaces. Alternatively, you can rinse the surface with water to remove any traces of chlorine. Ensure thorough drying after rinsing to eliminate any remaining moisture.
Step 6: Disinfecting with a Disinfectant Spray or Wipes
After using chlorine, it's important to further disinfect surfaces by using a disinfectant spray or wipes. Choose a product that is effective against a wide range of pathogens and viruses. Follow the manufacturer's instructions for proper application and contact time.
Step 7: Sterilizing with Sterilizing Agents or Solution
For surfaces that require stronger sterilization, such as in medical facilities or laboratories, use sterilizing agents or a sterilizing solution. Apply the designated sterilizer according to the specific instructions provided by the manufacturer. Pay close attention to contact time and any additional safety precautions necessary.
Step 8: Dispose of Contaminated Materials
Dispose of used gloves, wipes, or other materials used during the sterilization process in a designated biohazard bag or container. Follow proper disposal procedures to prevent any potential contamination.
Conclusion:
Sterilizing surfaces using chlorine, disinfectants, and sterilizers is an effective way to prevent the spread of contaminants. By following this step-by-step guide and adhering to recommended safety protocols, you can create a clean and safe environment for yourself and others. Regularly practicing these methods will play a crucial role in maintaining good hygiene standards and preventing the transmission of harmful microorganisms.

 Admin
Admin 
